Hey there, friends! 👨🍳 Chef James here, welcoming you back to my kitchen at Tiramisucake.com, where today’s star is the Red Velvet Cake Roll a dessert that’s as stunning to look at as it is delicious to eat.
If you’re a fan of that classic red velvet flavor rich cocoa, tangy buttermilk, and smooth cream cheese then this Red Velvet Cake Roll will absolutely steal your heart. Imagine a tender red sponge rolled around a creamy filling that melts in your mouth. It’s festive, elegant, and surprisingly easy to make at home.
I first baked this Red Velvet Cake Roll one chilly Valentine’s Day, and it’s been my go-to ever since not just for romance, but for Christmas, birthdays, and any occasion that calls for a show-stopping dessert.
You’ll find even more irresistible roll cakes in my Cake Roll Recipes collection from the chocolatey Chocolate Cake Roll to the creamy Tiramisu Cake Roll and fruity Strawberry Cake Roll.
So grab your whisk and parchment paper, because we’re about to create the most beautiful and delicious Red Velvet Cake Roll you’ve ever seen.
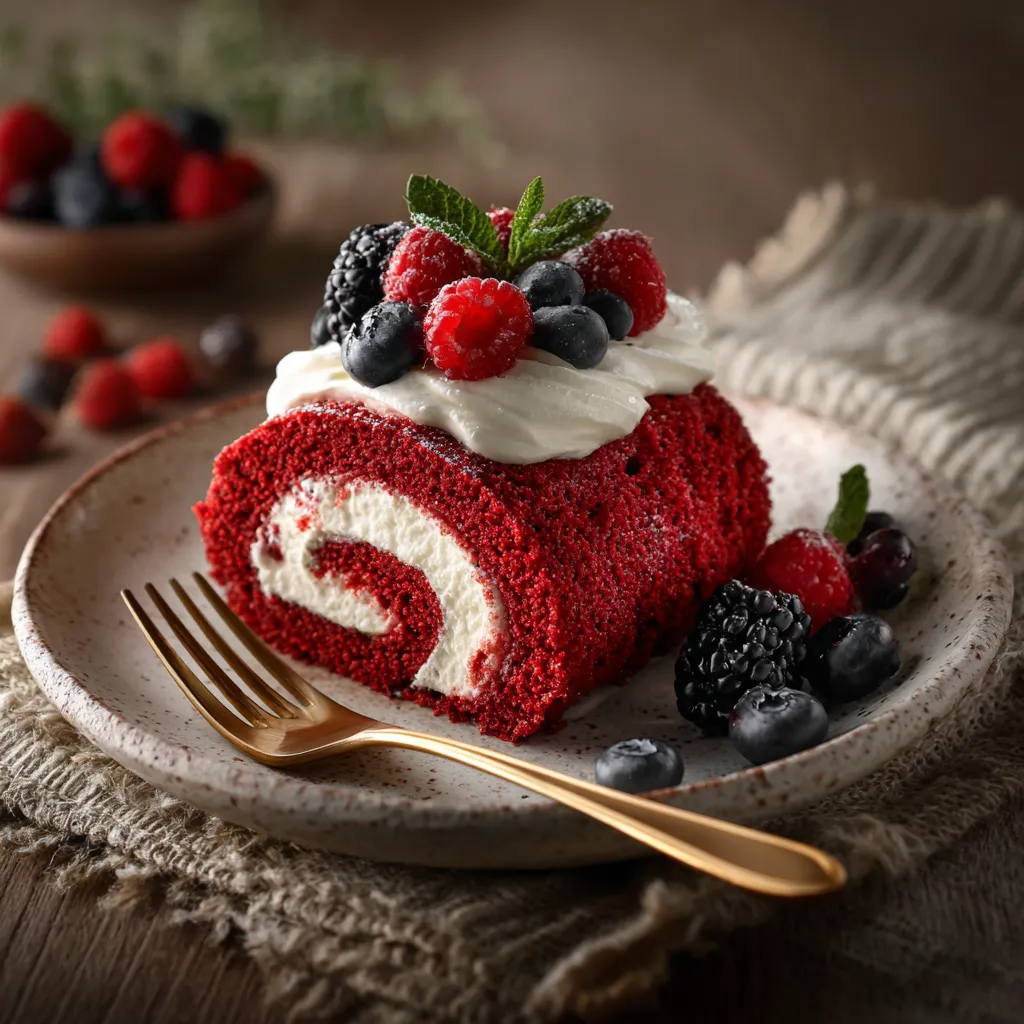
Table of Contents
Toggle❤️ Why You’ll Love This Red Velvet Cake Roll
There’s something magical about a Red Velvet Cake Roll the vibrant red color, the perfect swirl, the creamy filling. Here’s why this dessert belongs in your recipe box:
- ❤️ Rich Red Velvet Flavor – The classic blend of cocoa and buttermilk makes every bite unforgettable.
- 🍰 Soft, Moist, and Fluffy – This Red Velvet Cakes Roll bakes up tender yet light, ideal for rolling.
- 💞 Cream Cheese Perfection – Smooth, tangy, and not overly sweet just right for a balanced bite.
- 🎄 Holiday-Ready Dessert – Perfect for Christmas, Valentine’s Day, and festive dinners.
- 🧊 Make-Ahead Friendly – Your Red Velvet Cakes Roll stays moist and slices beautifully after chilling.
- 🌟 Stunning Presentation – That red-and-white swirl turns heads at any party table.
- 🧑🍳 Beginner-Friendly Recipe – With Chef James’s tips, your first Red Velvet Cake Roll will look professional!
What occasion will you celebrate with your first homemade Red Velvet Cake Roll?
🍫 Ingredients Needed for the Best Red Velvet Cake Roll
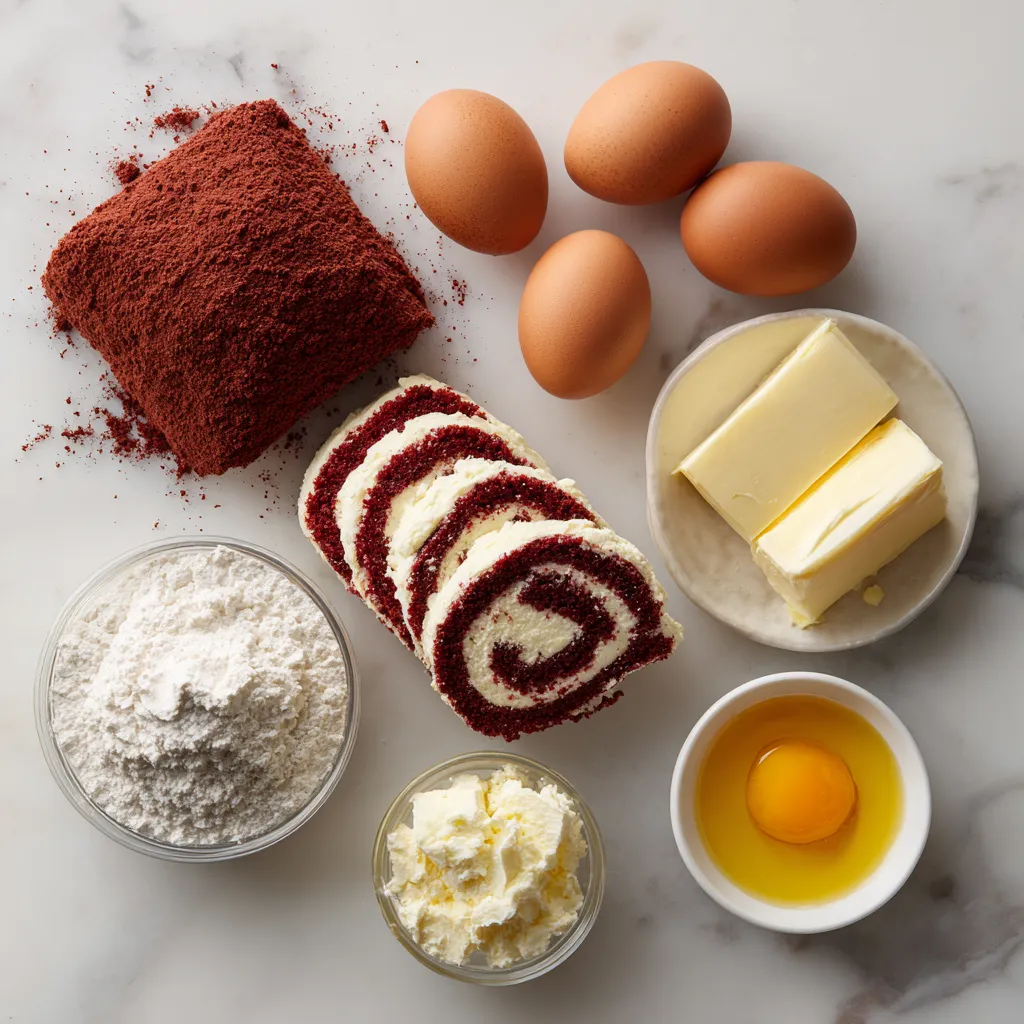
To make a perfect Red Velvet Cake Roll, you don’t need fancy tools just quality ingredients and a little care.
🧁 Red Velvet Sponge
- All-Purpose Flour – Use 1 cup minus 1 tbsp for a soft, flexible sponge.
- Unsweetened Cocoa Powder – Adds depth without overpowering the color.
- Baking Powder & Salt – Essential for a light rise.
- 4 Large Eggs (separated) – Yolks add richness, whites add structure.
- Granulated + Brown Sugar – Creates moisture and balanced sweetness.
- Vegetable Oil – Keeps the Red Velvet Cakes Roll moist and tender.
- Buttermilk – Adds tang and flavor; don’t skip it!
- White Vinegar – Reacts with cocoa to brighten the red hue.
- Vanilla Extract – Enhances flavor.
- Red Food Coloring – Gives your Red Velvet Cakes Roll that signature ruby-red shade.
🍥 Cream Cheese Filling
- Cream Cheese (8 oz, full-fat) – The heart of any Red Velvet Cake Roll.
- Butter (½ cup, unsalted) – Adds creaminess and structure.
- Powdered Sugar (1 cup) – Creates a stable, smooth frosting.
- Vanilla Extract (1 tsp) – Balances the tanginess perfectly.
Chef James Tip: I swear by Trader Joe’s organic cocoa and Costco’s cream cheese for a velvety, bakery-style Red Velvet Cake Roll.
And if you love citrusy desserts, try my Lemon Swiss Roll next it uses the same foolproof sponge technique.
🧑🍳 How to Make Red Velvet Cake Roll Step-by-Step
Follow my guide to bake the perfect Red Velvet Cake Roll every time soft, even, and crack-free!
Step 1 – Prep
Preheat oven to 350°F (177°C). Line a 10×15-inch jelly roll pan with parchment paper.
Step 2 – Make the Batter
Whisk flour, cocoa, baking powder, and salt together. In another bowl, whisk yolks, sugars, buttermilk, oil, vinegar, vanilla, and red food coloring until smooth. Combine dry and wet ingredients gently to avoid overmixing your Red Velvet Cake Roll batter.
Step 3 – Fold in Egg Whites
Beat egg whites until stiff peaks form. Gently fold into the batter this step gives your Red Velvet Cake Roll its airy texture.
Step 4 – Bake
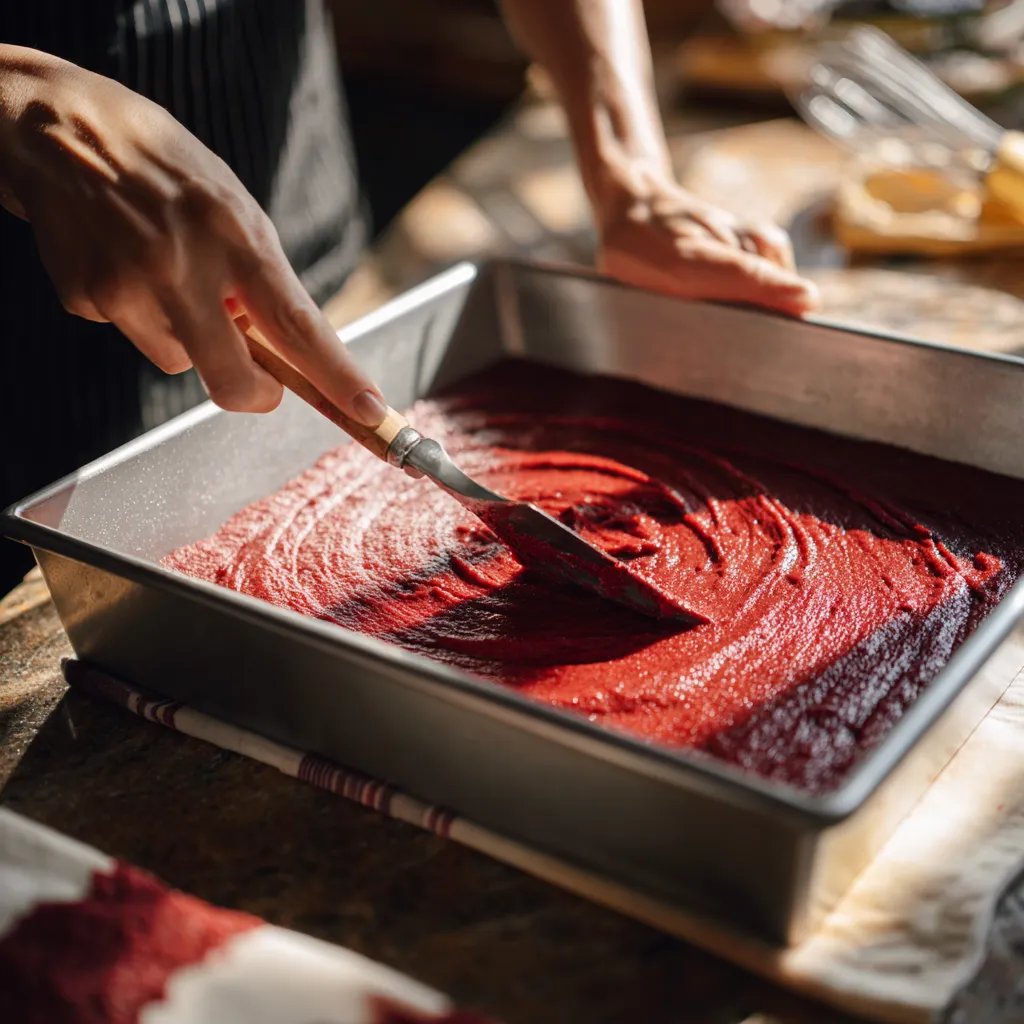
Spread the batter evenly into the pan and bake 12–14 minutes, until the top springs back when touched.
Step 5 – Roll While Warm
Immediately lift the cake from the pan and roll it up with the parchment. This keeps your Red Velvet Cake Roll elastic and prevents cracks.
Step 6 – Make the Filling
Beat cream cheese and butter until fluffy. Add powdered sugar and vanilla; mix until creamy.
Step 7 – Fill & Chill
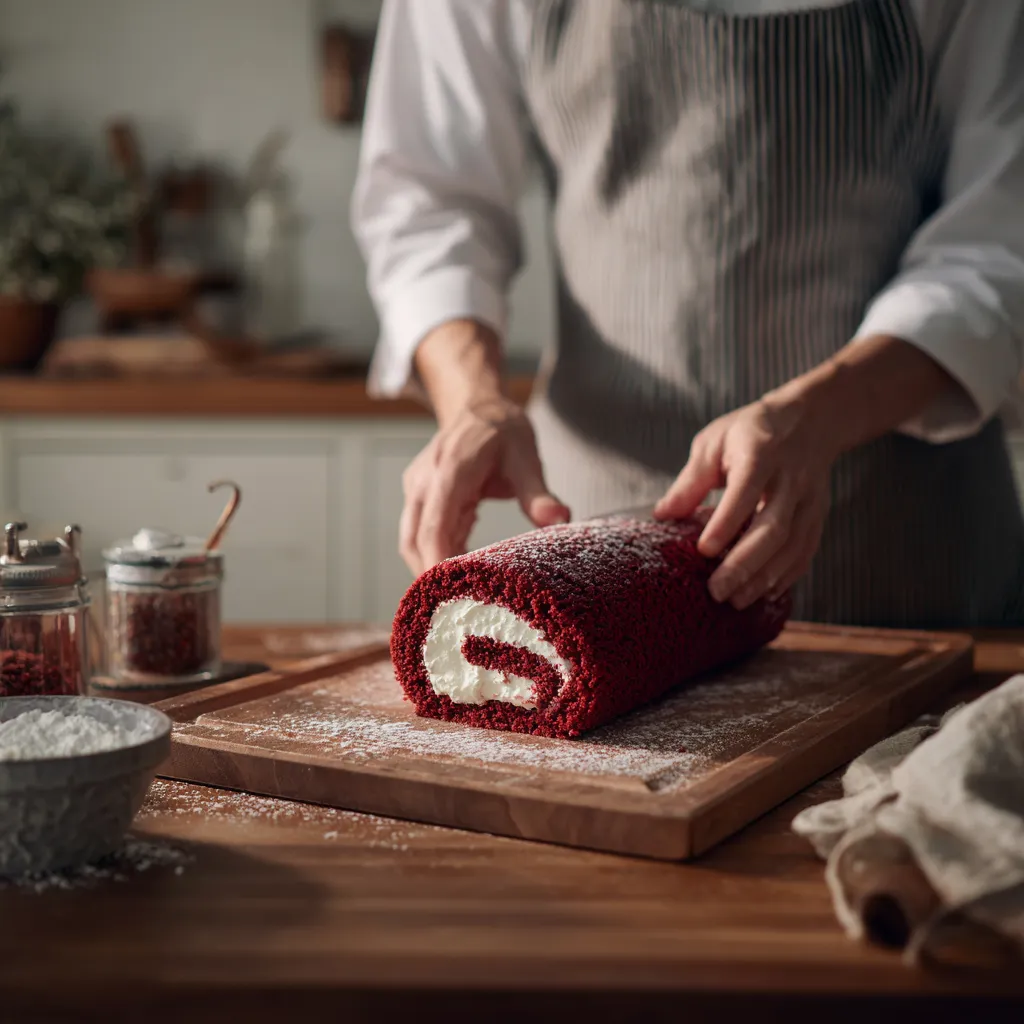
Unroll your cooled cake, spread the cream cheese filling evenly, then re-roll. Wrap and chill for 1 hour to set your Red Velvet Cake Roll.
Chef James’s Secret: Warm your spatula slightly before spreading the filling it glides over the sponge like silk.
Want more roll cake inspiration? My Pumpkin Spice Roll uses the same rolling trick!
🎨 Tips & Variations for Red Velvet Cake Roll
Here’s how to take your Red Velvet Cakes Roll from classic to creative:

🎄 Holiday Edition
Top your Red Velvet Cakes Roll with powdered sugar, sugared cranberries, or white chocolate drizzle for a Christmas-ready dessert.
🧁 Mascarpone Swirl
Replace half the cream cheese with mascarpone for a velvety Italian-style filling.
🍓 Berry Velvet Roll
Spread a thin layer of raspberry jam before adding the filling for a tangy twist to your Red Velvet Cake Roll.
🥑 Keto Version
Swap all-purpose flour for almond flour and sugar for erythritol to make a low-carb Red Velvet Cake Roll that’s still indulgent.
Chef James’s Suggestion:
“Try serving slices of your Red Velvet Cake Roll with a dollop of whipped cream and chocolate curls for an extra wow factor.”
For more inspiration, explore the full Cake Roll Recipes hub your go-to guide for elegant desserts that impress.
Storage & Reheating
One of the many reasons I love making a Red Velvet Cake Roll is how beautifully it keeps its texture soft, moist, and picture-perfect even days later.
🧁 Storage in the Fridge
Wrap your Red Velvet Cake Roll tightly in plastic wrap or store it in an airtight container. It stays fresh for up to 4 days in the refrigerator. The cream cheese filling actually improves overnight, becoming even smoother and richer.
❄️ Freezing for Later
Yes, you can freeze your Red Velvet Cake Roll! Wrap the entire roll in plastic, then in foil, and store it in the freezer for up to 3 months. When ready to serve, thaw overnight in the fridge.
Chef James’s Freezer Tip:
I like to freeze my Red Velvet Cakes Roll in slices they thaw faster and make portioning easier for quick desserts.
🔥 Reheating
If you prefer a softer texture, microwave individual slices for 10–12 seconds or let them come to room temperature naturally. Do not overheat the cream cheese filling should stay cool and creamy.
For more freezer-friendly desserts, take a peek at our Cake Roll Recipes collection most of them hold up beautifully when frozen.
❓ FAQs About Red Velvet Cake Roll
How do I keep my Red Velvet Cake Roll from cracking?
Roll it while it’s still warm. This trick helps your Red Velvet Cake Roll stay flexible and prevents breakage.
Why is my Red Velvet Cake Roll dry?
It may have baked too long or the oven temperature was too high. Always bake until just springy a few minutes can make the difference.
Can I make my Red Velvet Cake Roll ahead of time?
Absolutely! In fact, the flavor improves overnight. Chill your Red Velvet Cake Roll for 24 hours before serving for the best texture.
Can I use gel food coloring instead of liquid?
Yes gel coloring works beautifully and gives your Red Velvet Cake Roll a deeper red tone without affecting texture.
Can I make a gluten-free Red Velvet Cake Roll?
Yes, just swap flour for a 1:1 gluten-free blend or almond flour. The result is light, moist, and naturally festive.
How do I know when the sponge is done baking?
Your Red Velvet Cake Roll is ready when it springs back to the touch and a toothpick comes out clean. Overbaking leads to dryness and cracking.

Red Velvet Cake Roll – The #1 Creamy and Festive Dessert You’ll Love
5 Stars 4 Stars 3 Stars 2 Stars 1 Star
No reviews
This Red Velvet Cake Roll wraps a vibrant red sponge around a creamy sweet vanilla cream cheese filling. Perfect for holidays, birthdays, or when you want a slice of elegance on your dessert table.
- Total Time: 39 minutes
- Yield: 1 cake roll (10 slices)
Ingredients
For the Red Velvet Sponge Cake:
Cake flour – 3/4 cup
Cocoa powder – 2 tbsp (unsweetened, not Dutch-process)
Baking powder – 1/2 tsp
Salt – 1/4 tsp
Eggs – 4 large, room temp
Granulated sugar – 3/4 cup
Buttermilk – 1/4 cup
Vegetable oil – 2 tbsp
Red gel food coloring – 1 tsp
Vanilla extract – 1 tsp
White vinegar – 1/2 tsp
For the Cream Cheese Filling:
Cream cheese – 8 oz, softened
Powdered sugar – 1 cup
Heavy cream – 2 tbsp (cold)
Vanilla extract – 1 tsp
Instructions
1. Preheat oven to 350°F (175°C). Line a 10×15-inch jelly roll pan with parchment paper and lightly grease.
2. In a bowl, sift together cake flour, cocoa powder, baking powder, and salt. Set aside.
3. In another bowl, beat eggs and sugar for 4–5 minutes until pale and fluffy.
4. Add oil, buttermilk, food coloring, vinegar, and vanilla. Mix well.
5. Gently fold dry ingredients into the wet mixture using a spatula until just combined.
6. Spread batter evenly into pan. Tap to remove air bubbles.
7. Bake for 12–14 minutes until top springs back when touched.
8. While hot, turn cake onto a clean kitchen towel dusted with powdered sugar. Peel off parchment and roll cake up with towel. Let cool.
9. In a bowl, beat cream cheese until smooth. Add powdered sugar, cream, and vanilla. Beat until fluffy and spreadable.
10. Unroll cake, spread cream cheese mixture evenly, then re-roll. Chill 2 hours before serving.
11. Dust with powdered sugar or drizzle with melted white chocolate before slicing.
Notes
Use gel food coloring for intense red without affecting texture.
Roll while warm to prevent cracking.
Chill before slicing for clean swirls.
- Author: Tiramisu Cake
- Prep Time: 25 minutes
- Cook Time: 14 minutes
- Category: Dessert
- Method: Baking
- Cuisine: American
- Diet: Vegetarian
Nutrition
- Serving Size: 1 slice
- Calories: 260
- Sugar: 22g
- Sodium: 120mg
- Fat: 15g
- Saturated Fat: 8g
- Unsaturated Fat: 5g
- Trans Fat: 0g
- Carbohydrates: 27g
- Fiber: 0.5g
- Protein: 4g
- Cholesterol: 75mg
🍽️ What to Serve With Red Velvet Cake Roll
Pairing desserts is an art! These simple sides and drinks complement the sweet-tangy flavor of your Red Velvet Cake Roll perfectly:
- ☕ Cappuccino or Latte – The creaminess of milk coffee enhances the tangy cream cheese filling.
- 🍓 Fresh Berries – Strawberries, raspberries, or blueberries balance the richness of the roll.
- 🍦 Vanilla Ice Cream – A scoop of ice cream turns your Red Velvet Cake Roll into a restaurant-worthy dessert plate.
For a fruity twist, serve it with my Strawberry Cake Roll together, they make a stunning dessert duo.
🍰 More Recipes You’ll Love
If you loved this Red Velvet Cake Roll, don’t stop here! Explore more irresistible creations from Tiramisucake.com:
- 🍫 Chocolate Cake Roll – A dark, rich cocoa classic.
- ☕ Tiramisu Cake Roll – Coffee-infused elegance.
- 🍋 Lemon Swiss Roll – Light and zesty with lemon cream.
- 🎃 Pumpkin Spice Roll – A cozy autumn favorite.
And don’t forget to bookmark the full Cake Roll Recipes pillar page for even more ideas.
Conclusion
And there you have it the Red Velvet Cake Roll that wins hearts every time! Soft, vibrant, and perfectly sweet, it’s the kind of dessert that turns any ordinary dinner into something memorable.
As always, Chef James reminds you to use fresh, high-quality ingredients and follow food safety recommendations from the USDA for storing dairy-based desserts.
If you’re hungry for more inspiration, don’t miss my curated Cake Roll Recipes hub from festive rolls to fruity delights, every creation is tested and perfected for home bakers.
For advanced tips on baking and rolling, I also recommend checking expert guides on Food Network they share great insights that align beautifully with my Chef James approach.
Now it’s your turn! Bake this Red Velvet Cake Roll, snap a picture, and share your experience in the comments below. I can’t wait to see your masterpiece! ❤️
