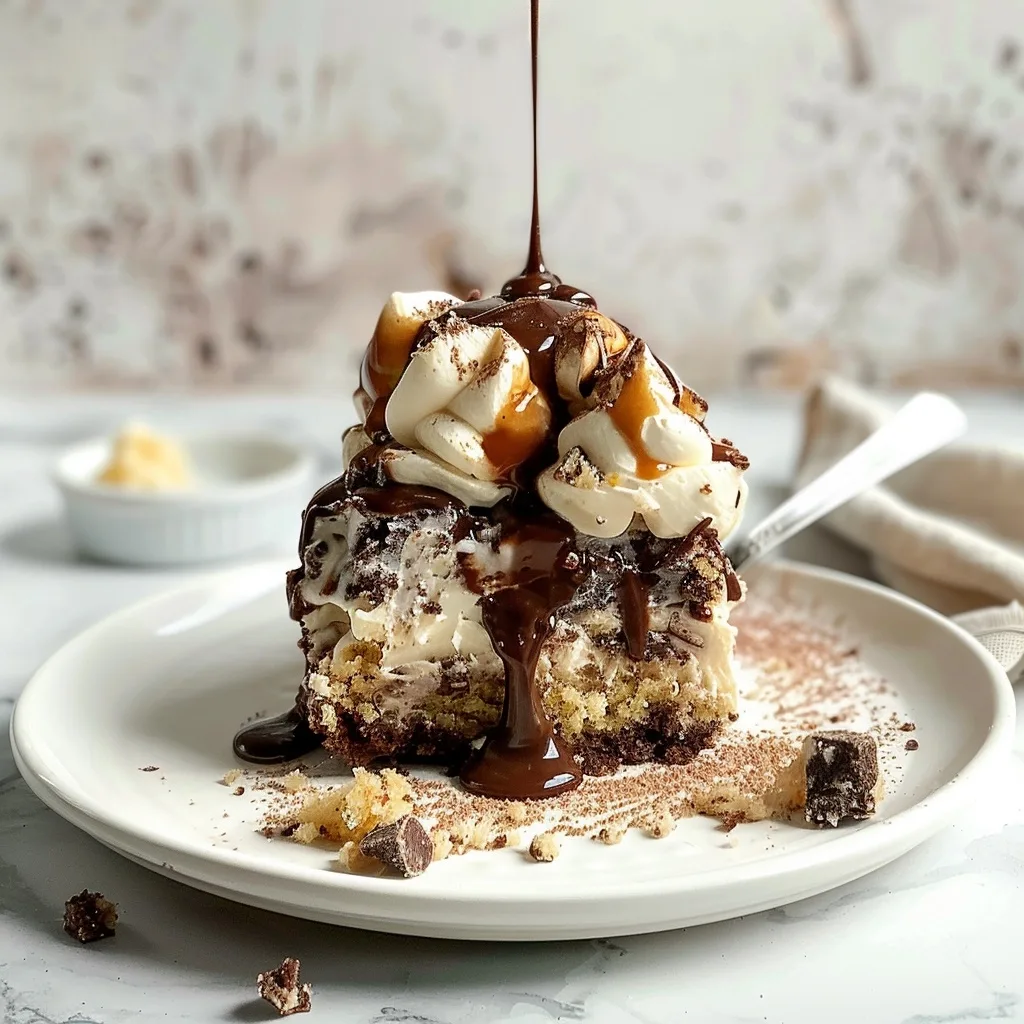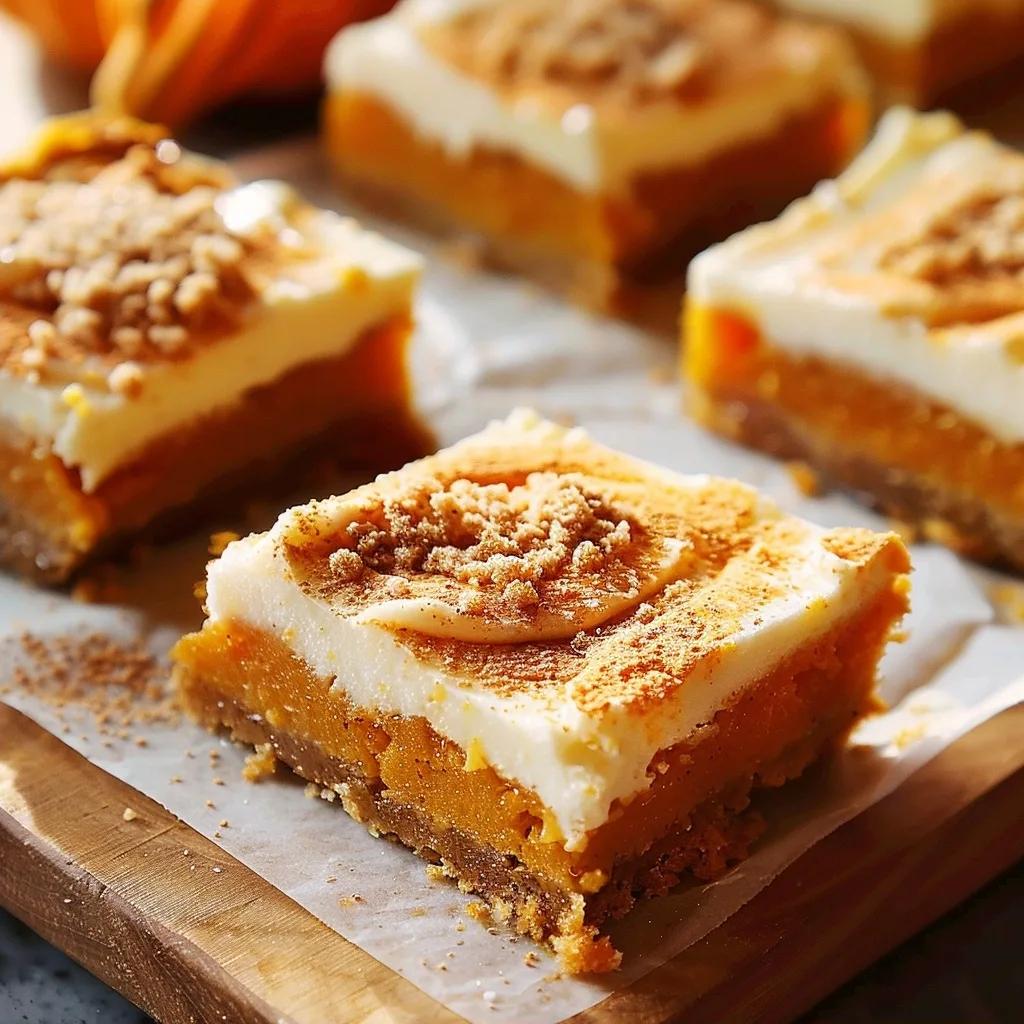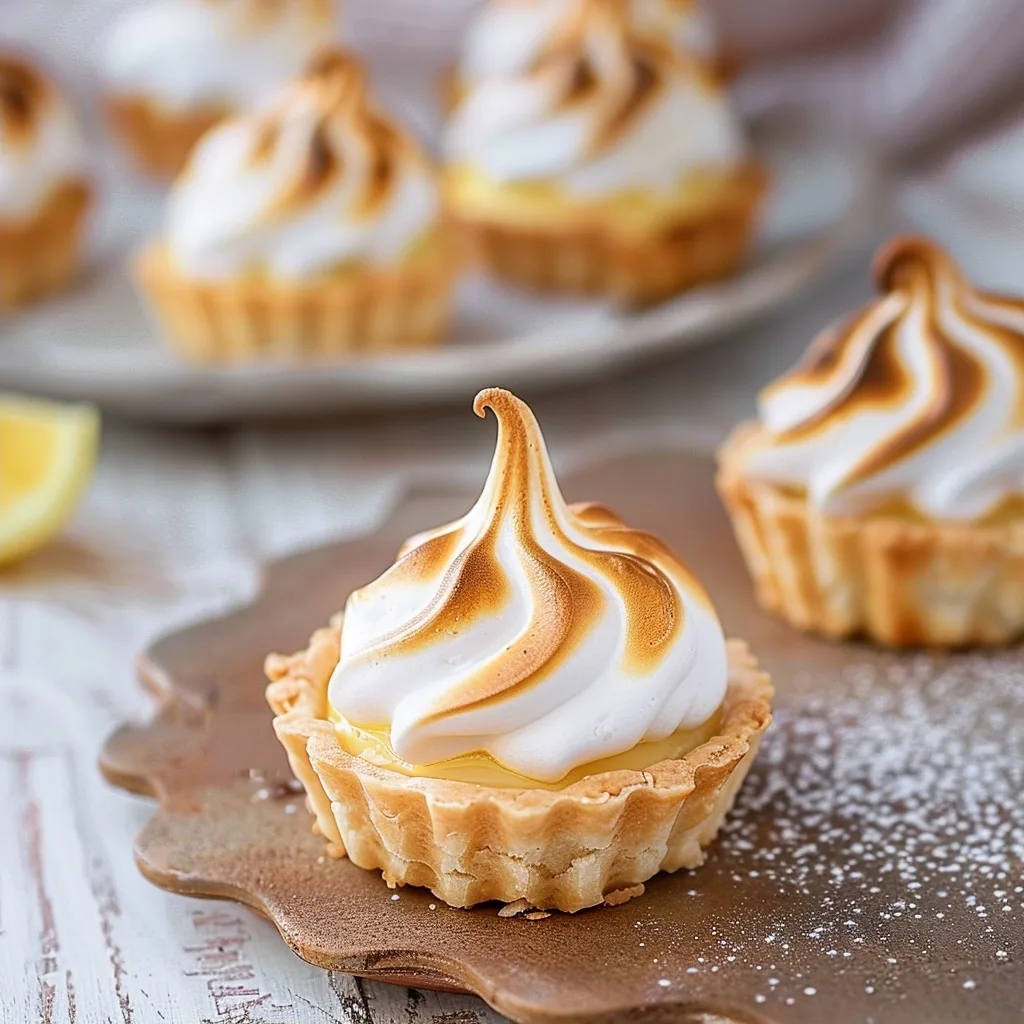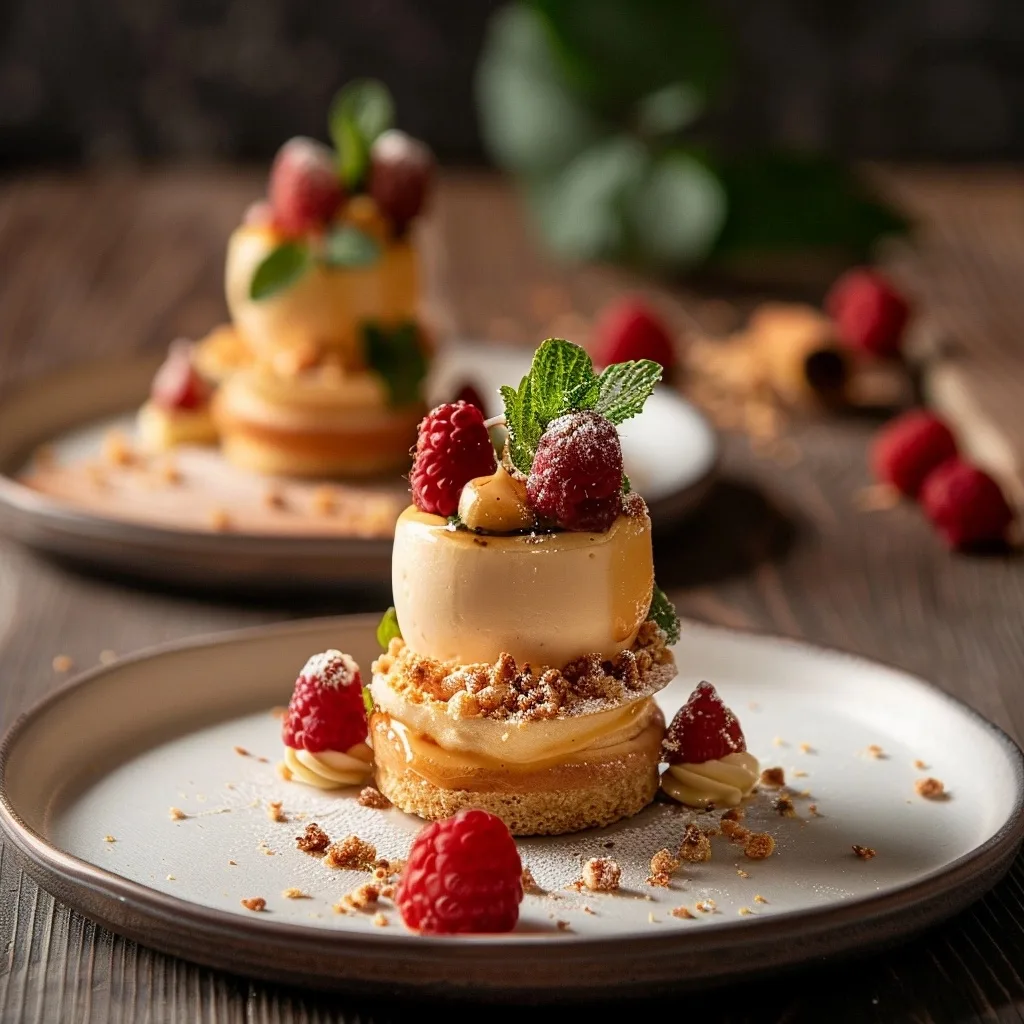
Plating tips are essential techniques home cooks use to elevate standard meals into visually stunning restaurant-quality presentations. Proper plate composition focuses on balancing texture, color, and negative space to create appetite appeal before the first bite. Mastering these fundamental artistic principles allows you to transform any simple dinner preparation into a curated dining experience that delights your guests visually and gastronomically.

Why This Recipe Works
Professional food presentation relies on the rule of odd numbers and the strategic use of height to capture the viewer’s attention. I discovered that by placing the proteins at the base of the plate and stacking secondary components, the dish gains a dynamic look that feels intentional and sophisticated. This structural method prevents overcrowding and ensures every element remains distinct on the palate.
My approach centers on using clean edges and garnishes that serve a culinary purpose rather than just decoration. Consistent practice with these techniques makes complex-looking arrangements achievable in under ten minutes using standard kitchen equipment. The visual impact generated through these simple adjustments consistently results in a higher enjoyment factor for every meal I prepare at home.
Recipe Overview
| Prep Time | Total Time | Difficulty | Cuisine |
|---|---|---|---|
| 10 min | 10 min | Easy | International |
Ingredients
| Ingredient | Quantity | Notes |
|---|---|---|
| Main protein or starch | 1 portion | Ensure clean cuts for geometry |
| Puree or sauce | 2 tbsp | Use a pastry bag for control |
| Microgreens | A pinch | Adds height and vibrant color |
| Crunchy garnish | 1 tbsp | Adds texture contrast |
Step-by-Step Instructions
Preparation Phase
- Select a plain white or neutral plate to minimize visual distraction from your food components.
- Wipe the edges of your serving plate with a damp microfiber cloth to remove smudges.
- Pool a small amount of sauce in the center or create a deliberate swoop using the back of a spoon.
Assembly Phase
- Place your primary protein at the center of the plate, slightly off-center for a more natural look.
- Layer side vegetables or starches against the protein to create a sense of height.
- Drizzle secondary sauces using a squeeze bottle or dedicated plating spoon for precision.
- Apply microgreens or herbs using tweezers to ensure they sit upright rather than flat.
Chef Tips for Perfect Results
- Use tweezers to place delicate garnishes accurately in areas where fingers cannot reach.
- Wipe away any unwanted droplets on the rim using a clean paper towel dipped in water.
- Create height by stacking components vertically rather than spreading them across the wide plate surface.
- Apply a light drizzle of high-quality olive oil at the end to add a professional sheen.
- Embrace negative space by leaving portions of the plate empty to focus the eye on the food.
Common Mistakes to Avoid
Overcrowding the plate causes the components to look messy and unappealing. Ensure you leave enough white space around the food to allow the ingredients to shine individually. Using too many garnishes often masks the primary flavors, so limit toppings to those providing a necessary crunch or brightness. Finally, avoid using wet components that leak fluid, which can blur your precise lines and ruin the overall aesthetic.
Variations and Substitutions
| Ingredient | Substitution | Impact on Flavor |
|---|---|---|
| Potato puree | Cauliflower mash | Lighter texture, lower carbs |
| Microgreens | Toasted seeds | Adds nuttiness and increased crunch |
| Balsamic glaze | Citrus reduction | Higher acidity, vibrant brightness |
Serving Suggestions and Pairings
Serve your plated creations immediately while temperatures remain optimal for texture. These techniques work exceptionally well for dinner party entrees or elevated holiday appetizers. Pair your finished creation with a sparkling apple cider or a chilled pomegranate ginger mocktail to complement the meal without overwhelming the palate.
Storage and Reheating
| Method | Duration | Instructions |
|---|---|---|
| Refrigerator | 24 hours | Store components separately |
| Reheating | Immediate | Assemble only right before serving |
Nutritional Information
Approximate values per serving based on standard portion sizes.
| Nutrient | Amount |
|---|---|
| Calories | 350 kcal |
| Protein | 25g |
| Fat | 12g |
| Carbohydrates | 40g |
Frequently Asked Questions
How can I achieve perfect sauce swooshes?
Place a dollop of thick sauce on the plate and use the back of a large spoon to press down and drag it across the surface. Ensure your sauce is thick enough to hold its shape without running into the center of the plate.
What are the best colors to use for plating?
Prioritize high-contrast colors like bright green herbs against a dark protein or yellow purees against a bold vegetable. Contrast creates a focal point that intuitively directs the eye toward the center of the composition.
How do I make my food look taller?
Build your base with a firm starch or protein and layer secondary elements toward the center peak. Using ring molds can help you keep soft ingredients like rice or purees in a tight, tall circle during assembly.
Should I serve on warm plates?
Warm your plates in a low-temperature oven for five minutes before assembly to keep the food at the ideal temperature. Cold plates draw heat away from hot food, reducing the dining experience quality.
Can I plate dishes ahead of time?
Keep your components ready in the refrigerator, but perform the final plating steps immediately before bringing the plates to the table. This timing ensures that your delicate garnishes stay crisp and the hot food remains steaming.
Developing these essential plating tips allows you to transform every meal into a memorable masterpiece. Focus on balance, height, and clean edges to achieve a professional presentation in your kitchen. Practice consistently with these simple techniques, and your home-cooked meals will impress everyone at your table with their refined look and fresh, vibrant appeal.
Print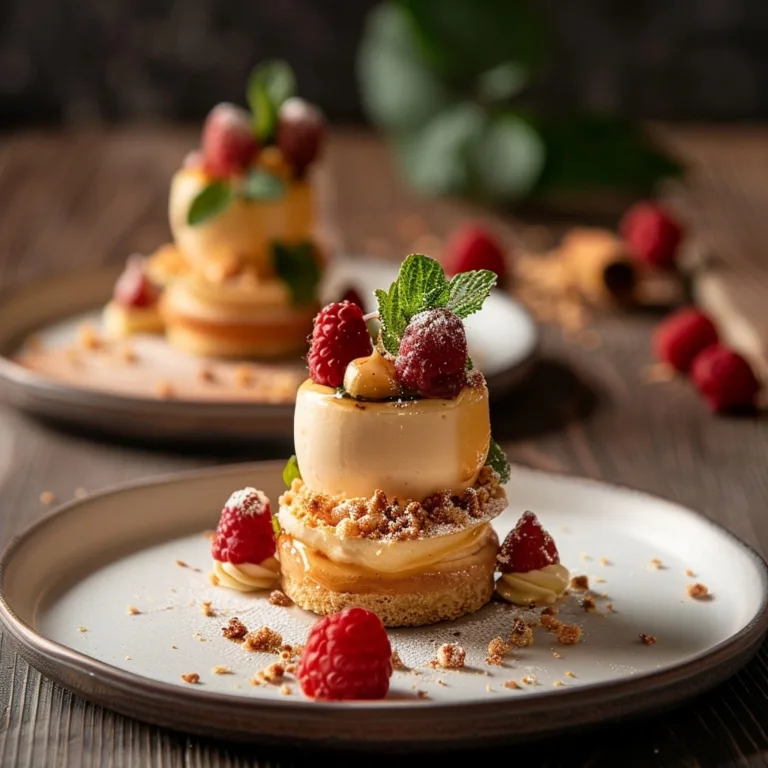
Chef’s Technique: Professional Plate Assembly
Transform your home-cooked meals into gallery-worthy presentations using fundamental professional plating techniques. By focusing on color balance, stacking for height, and strategic use of negative space, you can elevate the visual aesthetic of any dish. This guide uses professional principles like the rule of odd numbers and precise garnish placement to ensure your food is as delightful to look at as it is to eat.
- Total Time: 10
- Yield: 1 serving 1x
Ingredients
1 portion protein or starch
2 tbsp puree or sauce
1 pinch microgreens
1 tbsp crunchy garnish
Instructions
Select a clean, neutral-colored plate to provide a consistent backdrop for your dish.
Wipe the plate edges thoroughly with a damp cloth to ensure a pristine presentation.
Pool the puree or sauce in the center or create a deliberate swoop using the back of a spoon.
Place the primary protein or starch slightly off-center to create a dynamic focal point.
Layer side vegetables or additional starches against the protein to add vertical height.
Drizzle any secondary sauces carefully using a squeeze bottle for precision.
Top the dish with microgreens or herbs using culinary tweezers to ensure they stand upright.
Notes
Use a squeeze bottle for the cleanest sauce lines. Always keep a clean paper towel dampened with water nearby to immediately wipe away any accidental splatters on the rim of the plate.
- Prep Time: 10
- Category: Categorie Pinterest
- Method: Plating
- Cuisine: International
- Diet: Halal
Nutrition
- Serving Size: 1 plate
- Calories: 250
- Sugar: 2g
- Sodium: 300mg
- Fat: 8g
- Saturated Fat: 1g
- Carbohydrates: 20g
- Fiber: 3g
- Protein: 25g
- Cholesterol: 50mg