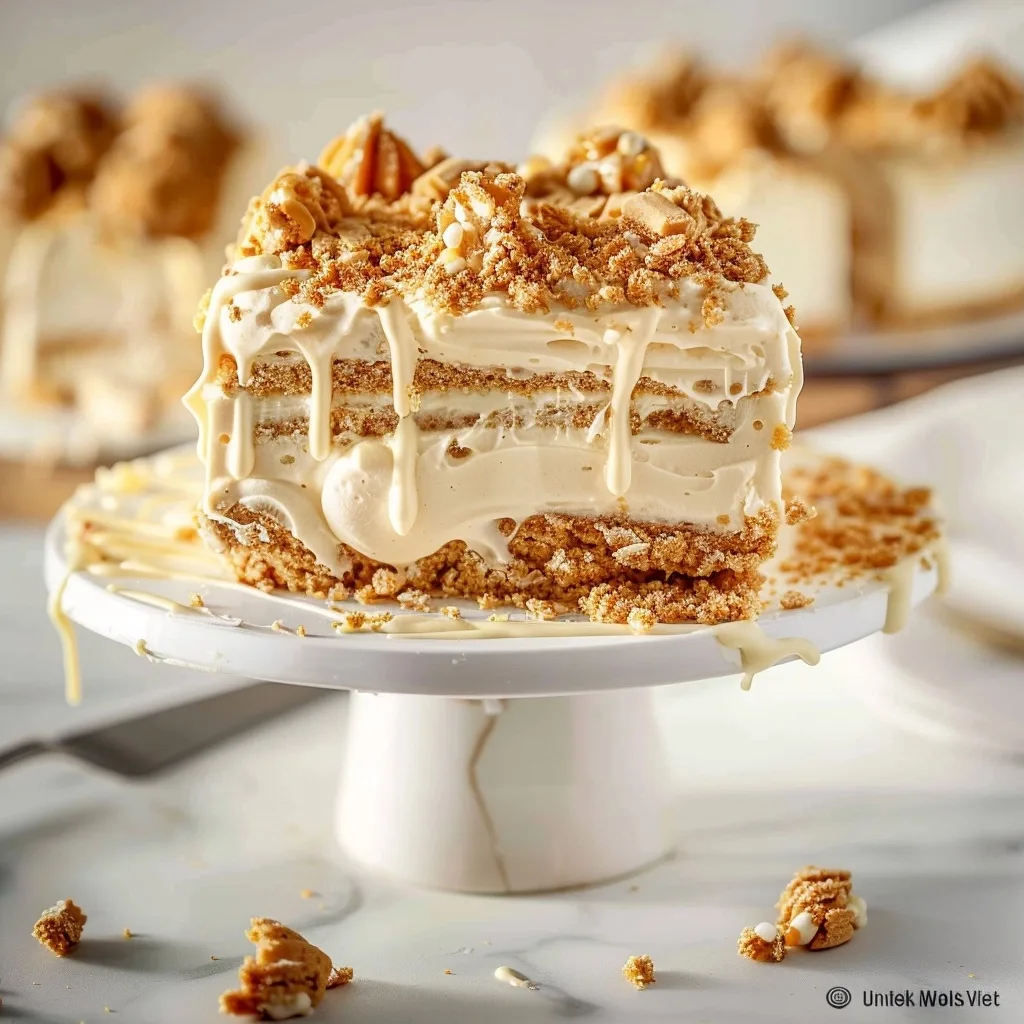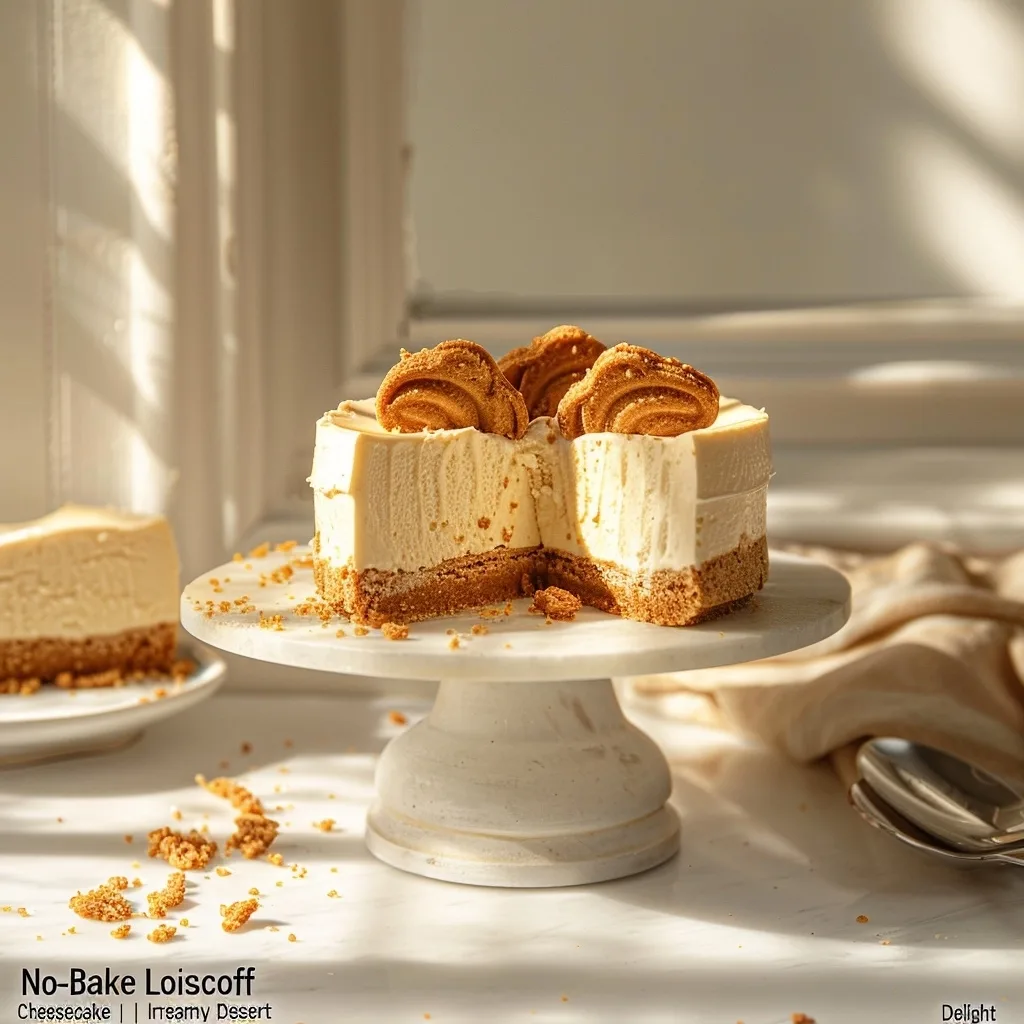
The no-bake Lotus Biscoff cheesecake recipe delivers an irresistibly creamy dessert delight that combines a crunchy spiced biscuit base with a velvety smooth cream cheese filling. This simple method requires no oven time, ensuring a stress-free preparation process for home bakers. By using high-quality caramelized cookies and fresh whipped cream, this dessert provides a sophisticated flavor profile that satisfies any sweet tooth craving instantly.
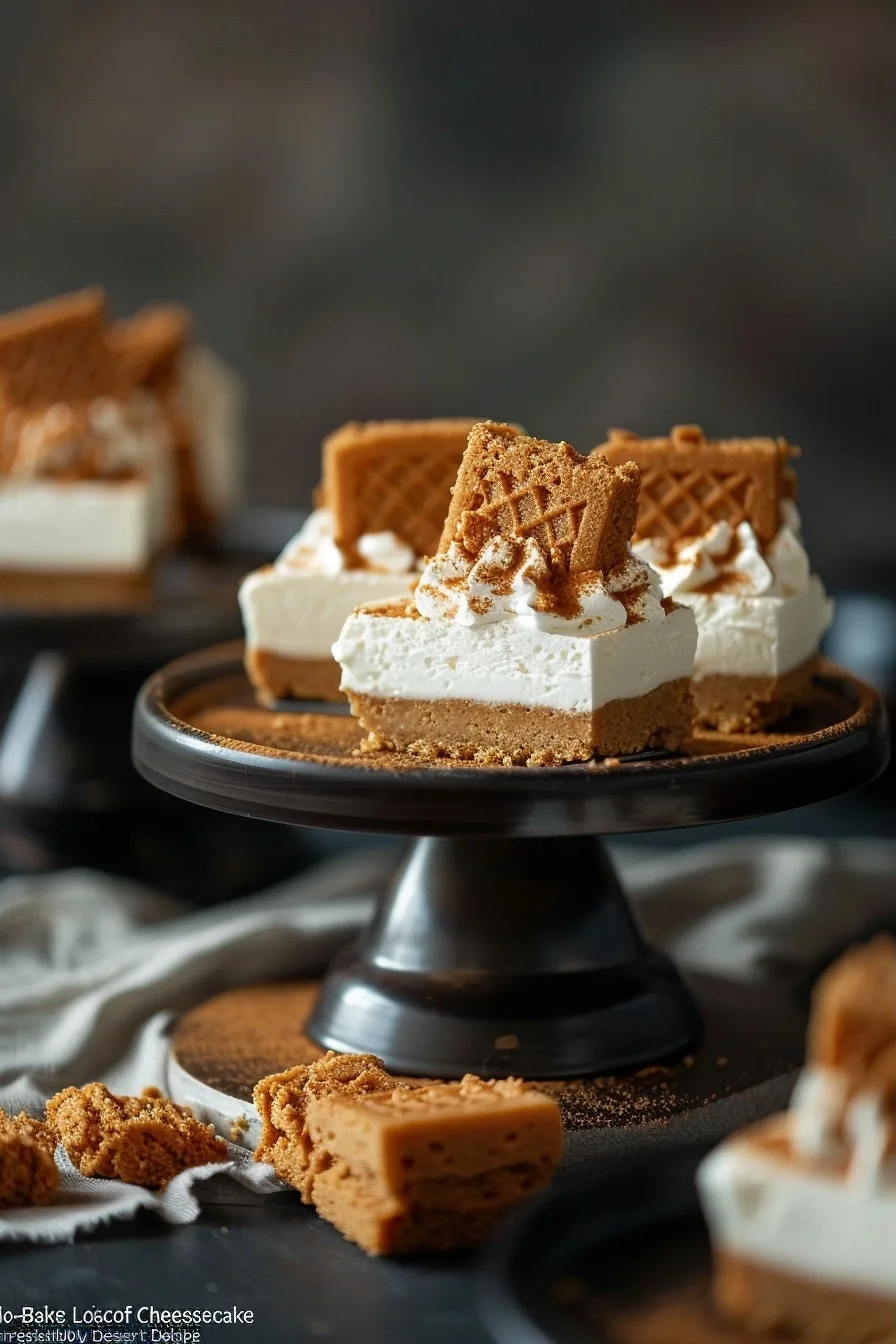
Recipe Overview
| Prep Time | Cook Time | Total Time | Servings | Difficulty | Cuisine |
|---|---|---|---|---|---|
| 30 mins | 0 mins | 6 hours (chilling) | 10 | Easy | Modern American |
Why This Recipe Works
This dessert wins because it relies on the iconic caramelized flavor of Biscoff cookies. The unique combination of cinnamon and brown sugar notes creates a depth that traditional graham crackers cannot replicate. Every bite offers a perfect balance between the saltiness of the biscuits and the sweetness of the rich cream cheese filling.
My experience creating this recipe confirms that the no-bake technique produces an superior texture compared to baked versions. Without the risk of cracking or over-baking the eggs, the filling remains light, airy, and stable when chilled. This makes it an ideal centerpiece for summer gatherings or quick weekend treats where ease of assembly is paramount.
Ingredients
| Ingredient | Quantity | Notes |
|---|---|---|
| Lotus Biscoff Cookies | 300g | Crushed finely |
| Unsalted Butter | 100g | Melted |
| Cream Cheese | 500g | Room temperature |
| Biscoff Spread | 200g | Smooth variant |
| Heavy Cream | 300ml | Cold |
| Powdered Sugar | 50g | Sifted |
Step-by-Step Instructions
Preparing the Base
- Crush the Lotus Biscoff cookies into fine crumbs using a food processor or a rolling pin in a sealed bag.
- Combine the cookie crumbs with melted butter in a medium mixing bowl until the texture resembles wet sand.
- Press this mixture firmly into the bottom of a 9-inch springform pan using the back of a spoon to create an even layer.
- Chill the base in the refrigerator for at least 30 minutes to ensure it sets properly.
Creating the Filling
- Beat the room temperature cream cheese and powdered sugar together until the mixture is smooth and clump-free.
- Add the Biscoff spread to the cream cheese mixture and mix on medium speed until fully incorporated.
- Whip the heavy cream in a separate bowl until stiff peaks form, ensuring not to overwork the mixture.
- Fold the whipped cream gently into the cream cheese and Biscoff mixture using a spatula to maintain the volume.
- Pour the filling over the prepared crust and smooth the top with an offset spatula.
- Refrigerate the cheesecake for at least 6 hours, preferably overnight, before releasing it from the pan.
Chef Tips for Perfect Results
- Ensure the cream cheese remains at room temperature to prevent lumps from forming in your filling.
- Use a stand mixer if available to achieve a silky, uniform consistency with the cream cheese and spread.
- Run a warm knife around the edge of the springform pan before releasing the side to ensure clean edges.
- Add a final drizzle of warmed Biscoff spread over the top before serving for extra visual appeal.
Common Mistakes to Avoid
- Overwhipping the heavy cream can lead to a grainy texture in the final filling. Stop as soon as stiff, stable peaks form.
- Using cold cream cheese prevents the ingredients from blending smoothly, resulting in small white chunks throughout the dessert. Always temper your ingredients.
- Skipping the chilling time will result in a soft cheesecake that collapses when sliced. Patience is required for the structure to set firmly.
Variations and Substitutions
| Ingredient | Substitution | Impact on Flavor |
|---|---|---|
| Biscoff Spread | Cookie Butter | Similar sweet, spiced profile |
| Heavy Cream | Full-fat coconut milk | Adds a subtle tropical note |
| Powdered Sugar | Maple syrup | Deepens the caramel intensity |
Serving Suggestions and Pairings
Serve this cheesecake alongside a hot cup of black coffee to cut through the sweetness of the caramel notes. It shines at birthday celebrations, summer holiday events, or intimate dinner parties. For an elegant touch, top the cake with extra crushed Biscoff cookies and thin lines of white chocolate or fresh berries for a pop of color.
Storage and Reheating
| Method | Duration | Instructions |
|---|---|---|
| Refrigerator | 3-4 days | Keep in an airtight container or cover the pan tightly with plastic wrap. |
| Freezer | 1 month | Freeze solid, then wrap in double layer of foil to prevent freezer burn. |
Nutritional Information
Approximate values per serving (1 slice):
| Nutrient | Amount per Serving |
|---|---|
| Calories | 420 kcal |
| Protein | 5g |
| Fat | 28g |
| Carbohydrates | 38g |
| Sugar | 25g |
Frequently Asked Questions
Can I use a different cookie if I cannot find Lotus Biscoff?
Yes, you can substitute Lotus Biscoff cookies with any spiced ginger biscuit or digestive cookie. The texture will remain similar, though the distinct caramel-cinnamon flavor profile will be slightly altered toward a gingersnap taste.
Why did my cheesecake filling turn out runny after chilling?
The filling usually becomes runny because the cream cheese was too soft or the heavy cream was not whipped to stiff enough peaks. Ensure your heavy cream is very cold before whipping to guarantee a stable structure. You can learn more about baking foundations to troubleshoot further.
Is it possible to make this recipe ahead of time?
You must make this recipe ahead of time because the cheesecake requires a minimum of six hours to set in the refrigerator. It actually performs better after resting overnight, making it the perfect preparation for stress-free hosting.
How do I know when the cream cheese is perfectly mixed?
The cream cheese is perfectly mixed when it appears completely smooth and holds a consistent pale color without any visible white lumps. Checking the side of the bowl frequently ensures nothing sticks to the edges during the mixing process.
What is the most effective way to prevent the crust from becoming soggy?
Ensure the butter is thoroughly coated into the crumbs and press the base into the pan with significant pressure. A compact base layer prevents the moisture from the filling from soaking into the biscuits, maintaining that essential crunch.
This no-bake Lotus Biscoff cheesecake serves as a testament to the power of simple, high-quality ingredients. Its velvety texture and signature spice make it a perennial favorite for those seeking an elevated dessert without the complexity of an oven. Follow these steps, enjoy the process, and delight your guests with this creamy, decadent creation.
Print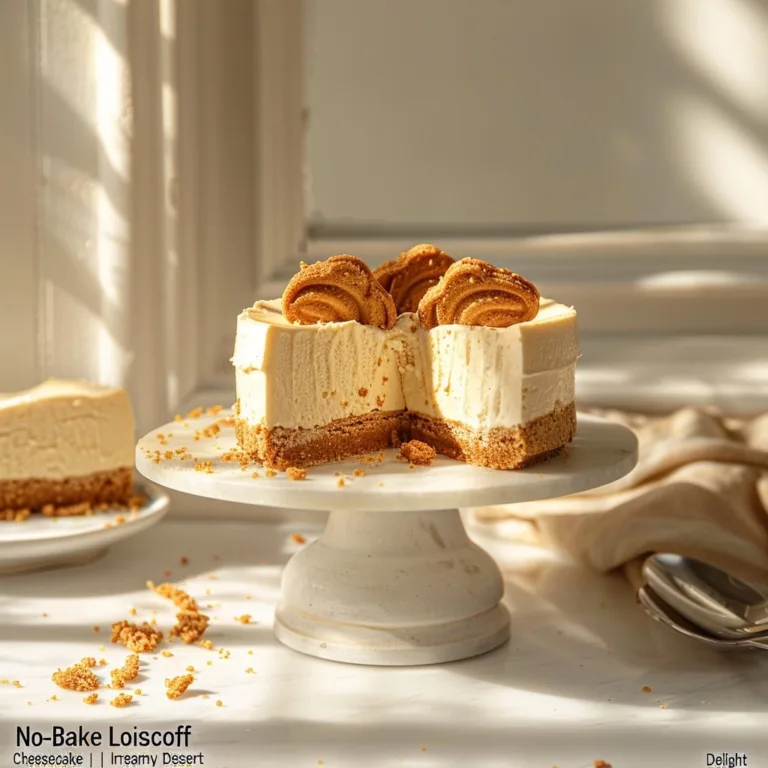
No-Bake Lotus Biscoff Cheesecake
This decadent no-bake cheesecake combines a crunchy spiced Biscoff biscuit crust with a velvety, smooth cream cheese filling infused with caramelized Biscoff spread. It is the perfect stress-free dessert that requires no oven time. Light, airy, and stable, it offers a sophisticated balance of cinnamon notes and creamy richness that satisfies every sweet tooth craving, making it an ideal centerpiece for any occasion or gathering.
- Total Time: 390
- Yield: 10 servings 1x
Ingredients
300g Lotus Biscoff cookies, crushed finely
100g unsalted butter, melted
500g cream cheese, room temperature
200g Biscoff spread, smooth
300ml heavy cream, cold
50g powdered sugar, sifted
Instructions
Crush the cookies into fine crumbs using a food processor or rolling pin.
Combine cookie crumbs with melted butter until the mixture resembles wet sand.
Press the crumb mixture firmly into the bottom of a 9-inch springform pan to create an even layer.
Chill the base in the refrigerator for at least 30 minutes to set.
Beat the cream cheese and powdered sugar together until smooth and clump-free.
Add the Biscoff spread to the cream cheese mixture and mix until fully incorporated.
Whip the heavy cream in a separate bowl until stiff peaks form.
Gently fold the whipped cream into the cream cheese and Biscoff mixture until combined.
Pour the filling over the prepared crust and smooth the top with a spatula.
Refrigerate for at least 6 hours, or overnight, until completely set before serving.
Notes
Ensure the cream cheese is at room temperature before mixing to avoid lumps.
Do not over-whip the heavy cream once it reaches stiff peaks.
Use a spatula to fold the whipped cream into the cheese mixture carefully to maintain an airy texture.
For best results, store in the refrigerator and serve chilled.
- Prep Time: 30
- Category: No-Bake Creamy Desserts
- Method: No-Bake
- Cuisine: Modern American
- Diet: Vegetarian
Nutrition
- Serving Size: 1 slice
- Calories: 480
- Sugar: 32g
- Sodium: 350mg
- Fat: 34g
- Saturated Fat: 20g
- Carbohydrates: 42g
- Fiber: 1g
- Protein: 6g
- Cholesterol: 85mg