No bake dessert in a cup recipes offer an effortless way to create delightful treats without any oven time. These individual portions are perfect for satisfying sweet cravings quickly and are ideal for parties or simple weeknight indulgence. They showcase how accessible gourmet-feeling desserts can be.
This method simplifies dessert preparation, ensuring anyone can achieve delicious results. The layered presentation in cups makes each serving visually appealing and easy to manage. Enjoying a perfectly chilled, layered dessert has never been easier than with these cup recipes.
Recipe Overview
| Prep Time | Cook Time | Total Time | Servings | Difficulty | Cuisine |
|---|---|---|---|---|---|
| 15 minutes | 0 minutes | 1 hour 15 minutes (including chilling) | 6 | Easy | American |
Why This Recipe Works
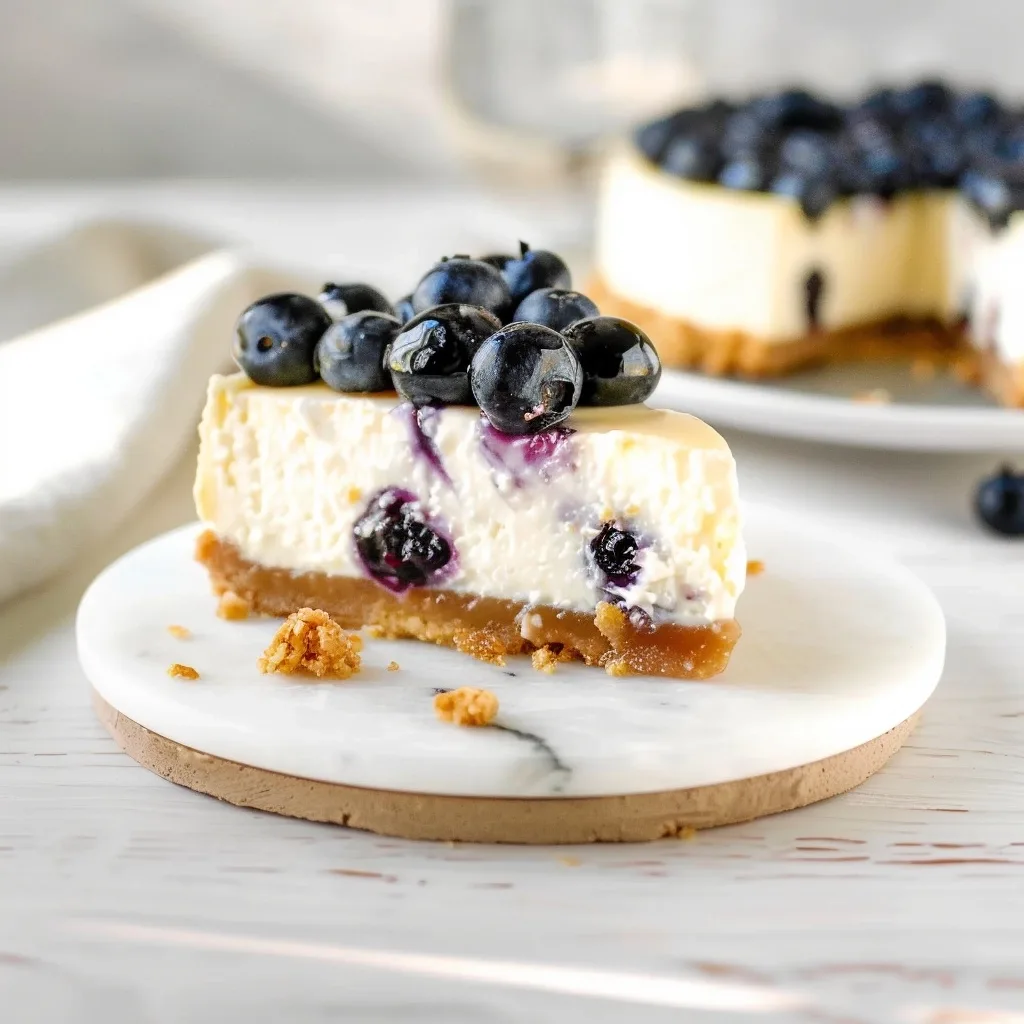
This particular no bake dessert in a cup recipe is a triumph of simplicity and sensory appeal. The contrasting textures, from the crumbly graham cracker base to the smooth cream cheese filling and the rich pudding layer, create a wonderfully satisfying bite. Each component is designed to complement the others, ensuring a balanced flavor profile that is neither too sweet nor too bland.
The advantage of individual cups is control over portion sizes and stunning visual appeal. It eliminates the need for slicing and serving larger desserts, making it ideal for gatherings. Furthermore, the no-bake nature means less mess and significantly less time investment, making these desserts achievable even on busy days. The chilled nature of the dessert enhances its refreshing qualities, making it a crowd-pleaser any time of year. It’s a testament to how simple ingredients can be transformed into something truly special without complicated techniques or baking equipment.
Ingredients
| Ingredient | Quantity | Notes |
|---|---|---|
| Graham Crackers | 1.5 cups, crushed | About 10-12 full crackers. Use digestive biscuits for a similar texture. |
| Unsalted Butter | 6 tablespoons, melted | Salted butter can be used; omit any added salt in the recipe. |
| Cream Cheese | 8 ounces, softened | Full-fat cream cheese yields the richest texture. Ensure it’s truly softened. |
| Powdered Sugar | 1 cup | Also known as confectioners’ sugar or icing sugar. Sift if lumpy. |
| Vanilla Extract | 1 teaspoon | Pure vanilla extract offers the best flavor. |
| Heavy Whipping Cream | 1 cup, cold | Ensure it’s very cold for optimal whipping. |
| Chocolate Pudding Mix | 1 regular (3.4 oz) package | Instant or cook-and-serve varieties can be used; follow package directions. |
| Milk | 2 cups | Whole milk provides the creamiest pudding. Use cold milk for mixing. |
| Fresh Berries | 1 cup, mixed | Strawberries, blueberries, raspberries, or a mix. Garnish optional. |
Step-by-Step Instructions
-
Prepare the Base
Crush graham cracker into fine crumbs using a food processor or by placing them in a sealed bag and crushing with a rolling pin.
In a medium bowl, combine the crushed graham crackers with the melted butter.
Stir until the crumbs are evenly moistened, resembling wet sand.
-
Assemble the Cups
Evenly divide the graham cracker mixture among 6 serving cups or small glasses.
Press the mixture firmly into the bottom of each cup using the back of a spoon or a small tamper.
This base layer prevents the crumbs from becoming soggy. Place the cups in the refrigerator while preparing the filling.
-
Make the Cream Cheese Filling
In a large bowl, beat the softened cream cheese with an electric mixer on medium speed until smooth and creamy.
Gradually add the powdered sugar and vanilla extract, continuing to beat until well combined and no lumps remain.
Scrape down the sides of the bowl as needed to ensure even mixing.
-
Whip the Cream
In a separate, clean bowl, whip the cold heavy whipping cream on medium-high speed until stiff peaks form.
Be careful not to over-whip, which can turn the cream into butter.
Gently fold the whipped cream into the cream cheese mixture until just combined. Avoid overmixing to maintain a light and airy texture.
-
Add the Cream Cheese Layer
Remove the chilled cups from the refrigerator.
Evenly spoon or pipe the cream cheese mixture over the graham cracker base in each cup.
Smooth the tops with a small spatula or the back of a spoon.
-
Prepare the Pudding Layer
In a medium bowl, whisk together the chocolate pudding mix and cold milk according to the package instructions.
If using instant pudding, whisk until smooth and thickened. If using cook-and-serve, prepare as directed and let it cool slightly.
The pudding should be thick enough to hold its shape.
-
Assemble the Pudding and Garnish
Carefully spoon or pipe the prepared chocolate pudding over the cream cheese layer in each cup.
Melt residual chocolate chips and drizzle on top for added decadence if desired. Explore other no-bake chocolate treats for inspiration.
Top each dessert generously with fresh mixed berries for a bright finish.
-
Chill Thoroughly
Cover the cups loosely with plastic wrap or lids.
Refrigerate for at least 1 hour to allow the flavors to meld and the dessert to set properly.
Chilling is crucial for achieving the best texture and taste.
Chef Tips for Perfect Results
- Ensure cream cheese is fully softened to avoid lumps in the filling. Let it sit at room temperature for about 1 hour before starting.
- Use cold, heavy whipping cream for the best volume when whipping. A metal bowl and whisk chilled in the freezer also help.
- Don’t overmix the whipped cream into the cream cheese mixture. Fold gently until just combined to keep the filling light and airy.
- Chill the cups for the recommended time. This allows the layers to set and the flavors to meld, enhancing the overall taste and texture.
- Taste the cream cheese filling before adding whipped cream. Adjust sweetness or vanilla if necessary to meet your preference.
Common Mistakes to Avoid
- Lumpy Cream Cheese Filling: Using cream cheese that is not properly softened. Fix: Always ensure cream cheese is at room temperature and soft to the touch before beating. Beat it until completely smooth before adding other ingredients.
- Runny Pudding: Not using cold milk or not allowing instant pudding enough time to thicken. Fix: Use very cold milk and whisk vigorously. If using instant pudding, let it sit for the maximum time recommended on the package to set.
- Soggy Graham Cracker Base: Not pressing the base firmly or chilling the cups immediately after adding the base. Fix: Press the graham cracker mixture down tightly. Refrigerate the cups with just the base for about 10-15 minutes before adding the filling to help it set.
- Over-Whipped Cream: Whipping cream for too long, resulting in a granular or butter-like texture. Fix: Whip cream just until stiff peaks form. Stop the mixer periodically to check consistency. If it looks like it’s starting to break, stop immediately.
Variations and Substitutions
| Ingredient | Substitution | Impact on Flavor |
|---|---|---|
| Graham Crackers | Digestive Biscuits, Vanilla Wafers, Oreos (filling removed) | Slightly sweeter, different crumb texture, or intensified chocolate note. |
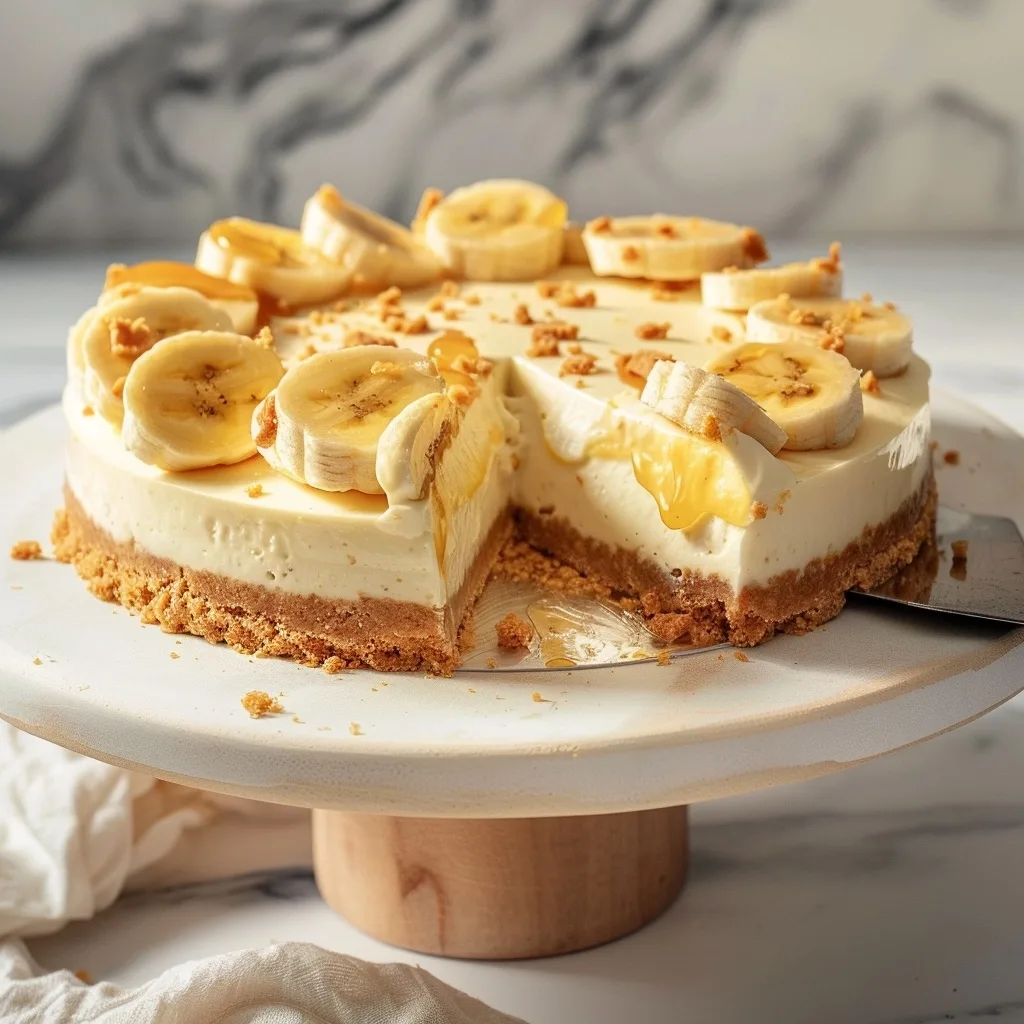
| Chocolate Pudding Mix | Vanilla Pudding Mix, Butterscotch Pudding Mix, Cheesecake Pudding Mix, Avocado Chocolate Mousse | Different primary flavor profile, richer or lighter depending on choice. |
| Fresh Berries | Canned fruit (drained), fruit compote, chocolate shavings, caramel drizzle | Adds sweetness, different textures, or richer flavor. |
| Cream Cheese | Mascarpone Cheese, Greek Yogurt (thick strained) | Richer and more decadent, or tangier and lighter. |
Serving Suggestions and Pairings
These no bake dessert in a cup recipes are perfect for baby showers, birthday parties, holiday gatherings, or simply a delightful afternoon treat. Serve them chilled directly from the refrigerator. They make elegant additions to any dessert table, offering individual portions that guests can easily enjoy while mingling. For a more festive presentation, consider adding edible glitter or small decorative toppers.
Pair these chocolate berry cups with a warm cup of coffee or a glass of cold milk. They also complement fruit-infused water or a light herbal tea beautifully. For children’s parties, a simple sprinkle of colorful jimmies works wonderfully. The versatility means they fit in seamlessly at casual picnics or more formal dessert buffets.
Storage and Reheating
| Method | Duration | Instructions |
|---|---|---|
| Refrigeration | Up to 3 days | Cover the cups tightly with plastic wrap or airtight lids. Store in the refrigerator. The textures may soften slightly over time. |
| Freezing | Up to 1 month | Cover the cups securely and freeze. Thaw in the refrigerator for several hours or overnight before serving. Berries may be softer upon thawing. |
Reheating is generally not applicable or recommended for these chilled desserts. The intended experience relies on their cool, refreshing texture. Attempting to reheat would compromise the integrity of the cream cheese and whipped cream layers.
Nutritional Information
| Nutrient | Amount per Serving |
|---|---|
| Calories | Approx. 350 kcal |
| Protein | Approx. 5g |
| Fat | Approx. 20g |
| Saturated Fat | Approx. 12g |
| Carbohydrates | Approx. 40g |
| Fiber | Approx. 2g |
| Sugar | Approx. 25g |
| Sodium | Approx. 200mg |
Approximate values. Actual nutrition may vary based on specific ingredients and brands used.
Frequently Asked Questions
Can I substitute the graham crackers?
Yes, digestive biscuits, vanilla wafers, or even crushed Oreos (filling removed) work well as a base substitute. These alternatives offer a slightly different texture and sweetness profile, but create delicious cups.
How do I make the pudding layer thicker?
Ensure you use cold milk for mixing instant pudding and allow it the full recommended time to set before layering. For cook-and-serve pudding, follow package instructions precisely and let it cool before use.
What if my cream cheese filling is lumpy?
This usually means the cream cheese was not softened enough. To fix, try beating the lumpy mixture longer, but ideally, soften cream cheese completely at room temperature before starting for a smooth result.
Can I make these desserts ahead of time?
Absolutely, these are excellent make-ahead desserts. They can be prepared up to 2 days in advance and stored covered in the refrigerator, allowing flavors to meld beautifully.
How many cups does this recipe yield?
This recipe typically yields 6 individual servings in standard dessert cups. Adjust ingredient quantities if you need a different number of servings.
Embrace the ease and delight of these no bake dessert in a cup recipes. They prove that elegant and satisfying desserts require minimal effort and absolutely no baking. The combination of creamy, crunchy, and fruity elements creates a memorable experience in every spoonful. Enjoy crafting these simple yet sophisticated treats!