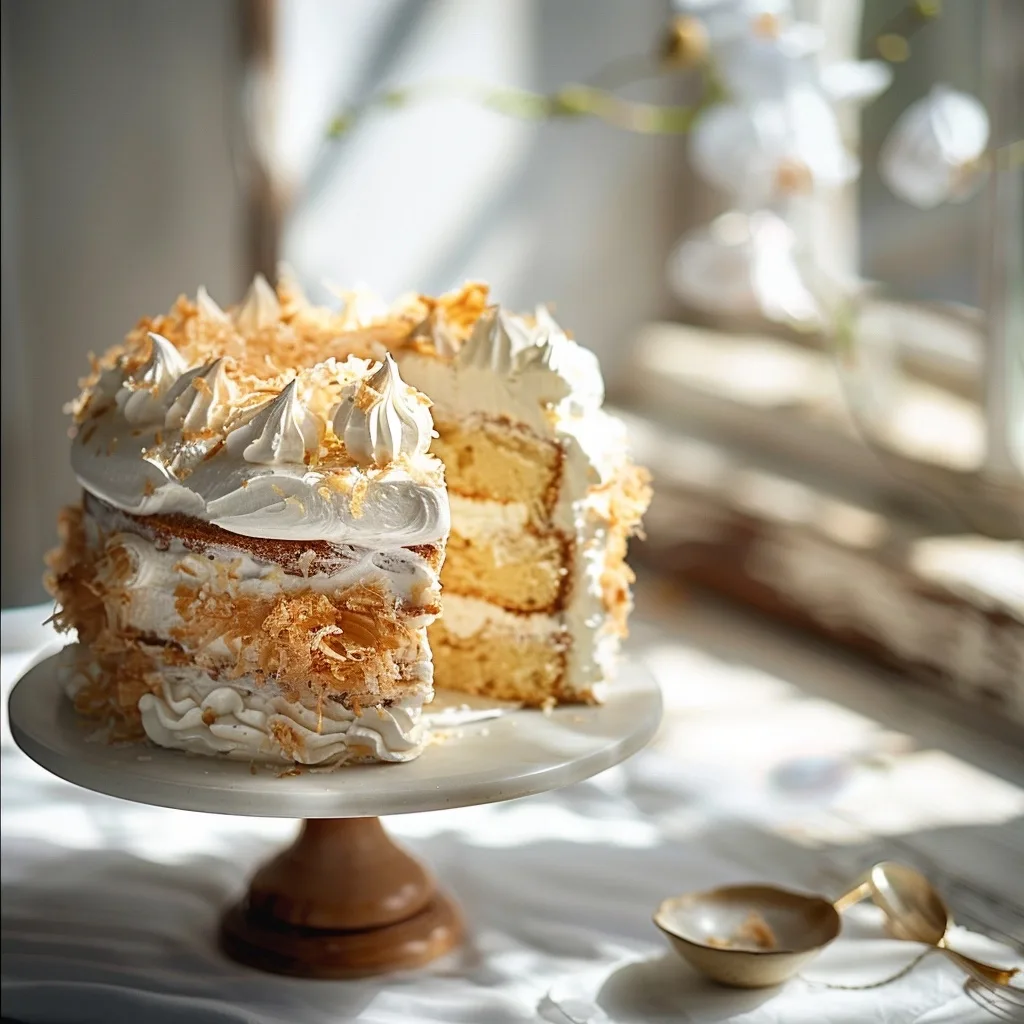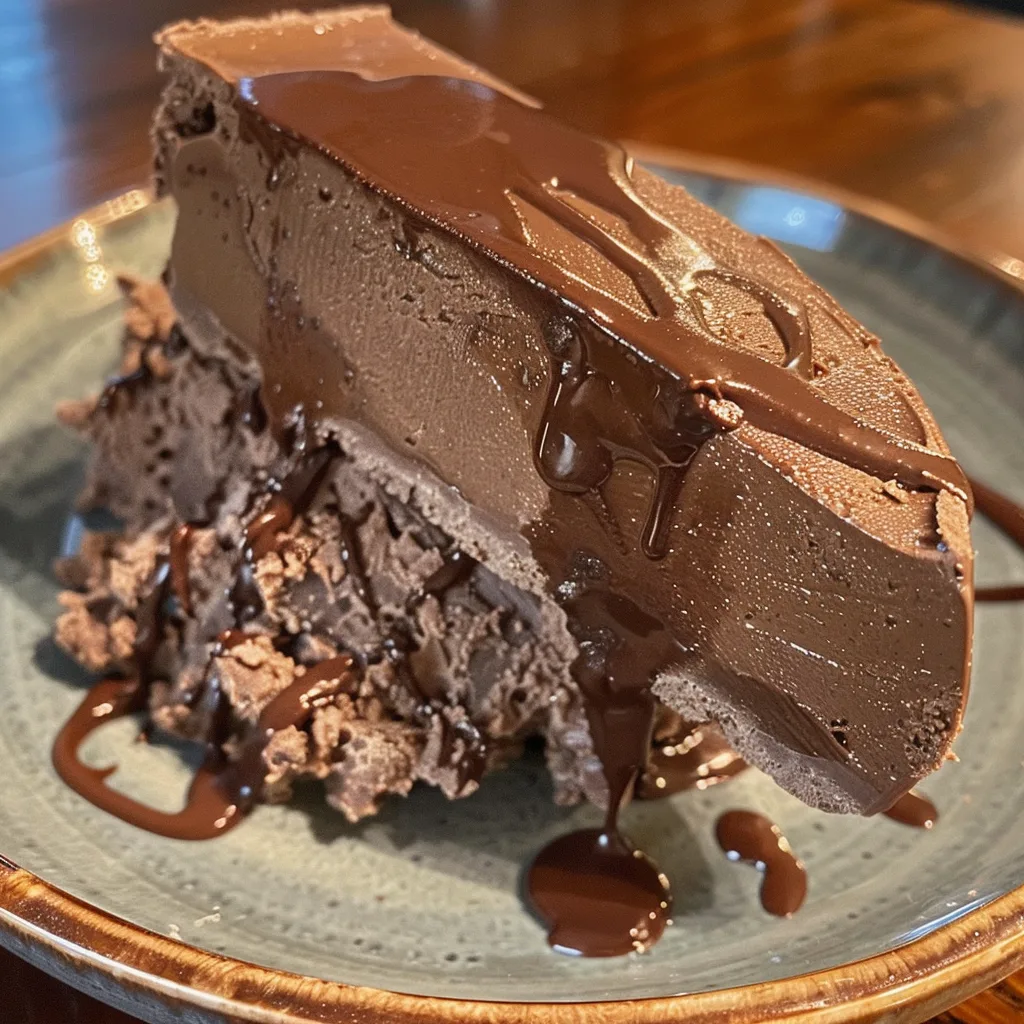
This no-bake chocolate fudge popsicle pie is an incredibly decadent frozen dessert that requires no oven time. It combines a rich, creamy chocolate fudge filling with a simple, buttery cookie crust, making it a spectacular treat for any occasion.

Recipe Overview
| Prep Time | Cook Time | Total Time | Servings | Difficulty | Cuisine |
|---|---|---|---|---|---|
| 20 minutes | 5 minutes | 4-6 hours 25 minutes (includes chilling/freezing) | 8 | Easy | American |
Why This Recipe Works
I developed this no-bake chocolate fudge popsicle pie because I craved an intensely chocolatey dessert that wouldn’t heat up the kitchen. The beauty of this recipe lies in its simplicity and the minimal active time required. Using sweetened condensed milk as the base for the fudge filling provides an unparalleled creamy texture and sweetness without the need for cooking eggs or making a traditional custard. The way the chocolate melts into the condensed milk creates a smooth, glossy filling that sets beautifully when frozen. The cookie crust acts as the perfect crunchy counterpoint to the velvety fudge. It’s a foolproof way to achieve a gourmet-tasting dessert with just a few common ingredients.
Furthermore, the magic happens in the freezer. This pie transforms into a delightful, sliceable frozen treat that’s reminiscent of a decadent chocolate bar, but with a richer, smoother mouthfeel. The combination of melted chocolate, sweetened condensed milk, and whipped cream creates a stable frozen dessert that doesn’t become icily hard. It’s that perfect balance of creamy, rich, and satisfyingly cold that makes this no-bake chocolate fudge popsicle pie a consistent crowd-pleaser. It truly delivers on deep chocolate flavor without requiring advanced baking skills.
Ingredients
| Ingredient | Quantity | Notes/Substitutions |
|---|---|---|
| Chocolate Cookie Crumbs | 1 ½ cups | Oreo cookies (cream filling removed) or chocolate graham crackers. For a classic look, use chocolate wafer cookies. |
| Unsalted Butter, melted | 6 tablespoons | Can substitute with salted butter; omit the pinch of salt in the filling if using. Use a vegan butter alternative for a dairy-free option. |
| Sweetened Condensed Milk | 1 (14 ounce) can | Ensure it’s sweetened condensed milk, not evaporated milk. Use a non-dairy sweetened condensed milk for a vegan version. |
| Heavy Cream | 1 cup | Must be heavy whipping cream for best results. Chilled cream whips best. For dairy-free, use a coconut cream alternative (chill can and scoop thick cream). |
| Bittersweet Chocolate, chopped | 4 ounces | Use good quality bittersweet or semi-sweet chocolate for optimal flavor. Chocolate chips can also work. |
| Vanilla Extract | 1 teaspoon | Pure vanilla extract enhances the chocolate flavor. Almond extract can be used for a different flavor profile. |
| Salt | Pinch | Balances the sweetness. Omit if using salted butter. |
| Fresh Strawberries, chopped | 1 cup (optional) | Adds a fresh, fruity contrast. Can be replaced with raspberries or a swirl of raspberry jam. |
| Chocolate Shavings | ¼ cup (optional) | For garnish. Use dark, milk, or white chocolate shavings. |
Step-by-Step Instructions
Prepare the Crust
- Combine chocolate cookie crumbs and melted butter in a medium bowl until evenly moistened.
- Press the crumb mixture firmly and evenly into the bottom and up the sides of an 8 or 9-inch pie plate.
- Chill the prepared crust in the refrigerator for at least 15 minutes while you prepare the filling.

Make the Fudge Filling
- Gently warm the sweetened condensed milk in a medium saucepan over low heat. Do not boil.
- Add the chopped bittersweet chocolate to the warm condensed milk.
- Stir continuously until the chocolate is completely melted and the mixture is smooth and glossy.
- Remove the saucepan from the heat and let the chocolate mixture cool slightly for about 5-10 minutes.
Whip the Cream
- In a separate, chilled bowl, pour the cold heavy cream.
- Whip the cream using an electric mixer on medium-high speed until stiff peaks form. Be careful not to over-whip into butter.
Combine and Assemble
- Gradually fold the slightly cooled chocolate mixture into the whipped cream using a spatula.
- Continue folding until just combined, ensuring no streaks of cream remain, but do not overmix.
- Stir in the vanilla extract and a pinch of salt.
- Pour the dense chocolate fudge filling into the pre-chilled cookie crust.
- Spread the filling evenly using the spatula or the back of a spoon.
- If using, scatter the chopped fresh strawberries evenly over the top of the fudge filling.
Freeze and Garnish
- Cover the pie loosely with plastic wrap or aluminum foil. Ensure it doesn’t directly touch the filling surface.
- Freeze the pie for at least 4 to 6 hours, or until the filling is completely firm and set.
- Before serving, remove the pie from the freezer. Let it sit at room temperature for 5 to 10 minutes to slightly soften for easier slicing.
- Sprinkle the top with chocolate shavings for an elegant finish, if desired.
Chef Tips for Perfect Results
- Chill Your Bowl and Whisk: For optimal whipping results, place your mixing bowl and whisk attachment in the freezer for 15-20 minutes before whipping the heavy cream. Cold cream whips faster and achieves stiffer peaks.
- Use Quality Chocolate: The flavor of your chocolate is paramount. Opt for a good quality bittersweet or semi-sweet chocolate bar, chopped finely. Avoid using chocolate chips specifically formulated for baking, as they contain stabilizers that can affect the texture.
- Don’t Overcook Condensed Milk: When melting the chocolate into the condensed milk, keep the heat very low. Overheating can cause the condensed milk to scorch or caramelize, altering the flavor and texture of the fudge filling.
- Press Crust Firmly: A well-compacted crust prevents the filling from seeping through and ensures a clean slice. Use the bottom of a glass or a measuring cup to press the crumbs evenly.
- Adjust Sweetness: Taste the cooled chocolate mixture before folding it into the whipped cream. If you prefer a sweeter pie, you can add an additional tablespoon of sweetened condensed milk or a touch of powdered sugar.
Common Mistakes to Avoid
- Using Evaporated Milk Instead of Sweetened Condensed Milk: Evaporated milk is not sweetened and will result in a very bland, unset filling. Always ensure your can explicitly states “sweetened condensed milk.” Understand the difference between these two common pantry staples.
- Over-Whipping the Cream: Whipping cream too long can turn it granular and eventually into butter. Stop as soon as firm peaks form that hold their shape without collapsing.
- Not Freezing Long Enough: This pie needs ample time to freeze solid. Insufficient freezing will result in a soupy, unsliceable dessert. Plan ahead and allow the full 4-6 hours, or longer if your freezer is not very cold.
- Melting Chocolate Too Quickly: Melting chocolate over direct high heat can cause it to seize or burn. Gentle, indirect heat (like a double boiler or low saucepan heat) ensures smooth, lump-free melted chocolate.
- Skipping Chilling Steps: Chilling the crust allows it to set firmly. Chilling the bowl for whipping cream ensures it whips correctly. Do not skip these crucial steps for the best texture.
Variations and Substitutions
| Ingredient | Substitution | Impact on Flavor/Texture |
|---|---|---|
| Chocolate Cookie Crumbs | Graham cracker crumbs or vanilla wafer crumbs | Milder crust flavor, less intense chocolate. |
| Bittersweet Chocolate | Milk chocolate or white chocolate | Sweeter, less intense chocolate flavor. White chocolate will make the filling much sweeter and lighter in color. |
| Heavy Cream | Half-and-half (with a small amount of cornstarch binder) | Less rich and creamy, potentially icier texture. Requires careful mixing and freezing. |
| Strawberries | Raspberries, cherries, or a swirl of caramel | Introduces different fruity or sweet notes, adds visual appeal. |
| Vanilla Extract | Peppermint extract or orange zest | Adds a festive peppermint twist or a bright citrus aroma. Use sparingly. |
Serving Suggestions and Pairings
This no-bake chocolate fudge popsicle pie shines on its own. It’s perfect for summer gatherings, birthday parties, or any casual get-together. For a truly decadent experience, serve a generous slice with a dollop of freshly whipped cream or a scoop of vanilla bean ice cream. A light dusting of cocoa powder or a few extra chocolate shavings can elevate its presentation. For a refreshing contrast, consider a side of fresh berries like raspberries or a small fruit salad. Pair it with a glass of cold milk or even a non-alcoholic sparkling cider for a celebratory touch.
Storage and Reheating
| Method | Duration | Instructions |
|---|---|---|
| Freezer | Up to 2 weeks | Store tightly covered with plastic wrap and then foil in the freezer. It’s best enjoyed within the first few days for optimal texture. |
| Refrigerator (Thawing) | 30-60 minutes before serving | If the pie is too hard to slice, leave it at room temperature for this duration. Do not leave it out for too long, or it will melt. It is not intended to be reheated. |
Nutritional Information
| Nutrient | Amount per Serving |
|---|---|
| Calories | 450 kcal (Approximate values) |
| Protein | 5g |
| Fat | 30g |
| Carbohydrates | 45g |
| Fiber | 2g |
| Sugar | 35g |
| Sodium | 120mg |
Frequently Asked Questions
Can I use different cookies for the crust?
Yes, you can use alternative cookies like graham crackers or vanilla wafers for the crust. This substitution will alter the chocolate intensity of the crust, making it less rich but still delicious.
How do I know if my pie is fully frozen?
The pie is fully frozen when the fudge filling is solid and firm to the touch. It should resist indentation when gently pressed and slice cleanly with a sharp knife. If it feels soft, it needs more freezing time.
My chocolate fudge filling is not smooth, what happened?
A grainy or not-smooth filling often occurs from overheating the chocolate or not chopping it finely enough. Ensure chocolate is finely chopped and melted gently over low heat, stirring continuously.
Can I make this pie ahead of time?
Absolutely, this no-bake chocolate fudge popsicle pie is an ideal make-ahead dessert. It must be frozen for at least 4-6 hours, so preparing it a day or two in advance is recommended for busy schedules.
How long can I store this pie in the freezer?
This pie can be stored in the freezer for up to two weeks if properly wrapped. For the best texture and flavor, it is recommended to consume it within the first week of freezing.
Indulge in the ultimate chocolate lover’s dream with this easy no-bake chocolate fudge popsicle pie. Its straightforward preparation and luxurious texture make it a go-to recipe for instant gratification. The interplay between the crunchy cookie base and the rich, frozen fudge filling creates a profoundly satisfying dessert experience. Enjoy this delightful treat that truly captures the essence of pure chocolate bliss.
Print
No Bake Chocolate Fudge Popsicle Pie
A rich, creamy no-bake frozen dessert with a buttery cookie crust and glossy chocolate fudge filling, topped with whipped cream mounds and chocolate-topped popsicle sticks. Perfect for a decadent, easy-to-make treat.
- Total Time: 385
- Yield: 8 servings 1x
Ingredients
1 ½ cups chocolate cookie crumbs (Oreos or graham crackers)
6 tablespoons unsalted butter, melted
1 (14 ounce) can sweetened condensed milk
6 ounces semi-sweet or bittersweet chocolate, finely chopped
1 teaspoon vanilla extract
1 cup heavy whipping cream, whipped to stiff peaks
2 tablespoons cocoa powder, sifted
1 cup milk (for chocolate drizzle)
8 chocolate pop sticks or wooden popsicle sticks
Instructions
Pulse chocolate cookies in a food processor to form fine crumbs. Add melted butter and mix until fully combined.
Press the crust firmly into the bottom of a 9-inch springform pan. Chill in the freezer for 15 minutes.
In a bowl, whisk sweetened condensed milk, chopped chocolate, and vanilla extract until smooth. Pour this fudge layer over the crust and smooth the surface. Chill for 30 minutes.
Spoon whipped cream into 8 evenly spaced mounds on the fudge layer. Returning the bowl and spatula to the freezer for 5 minutes, then use 2 tablespoons cocoa powder and a spoon to create a zigzag design on the fudge surface.
Transfer pan to freezer and chill for 2 hours. Meanwhile, in a small saucepan, heat milk and cocoa powder until just simmering. Pour over prepared popsicle sticks and let set into thin discs, about 10 minutes.
Once fudge is set, run a thin knife around the edges of the pan. Cut the pie into 8 equal wedges. Insert chocolate-coated sticks into the whipped cream mounds. Return to the freezer for 20 minutes before serving.
Notes
Substitute Oreo cookies with gluten-free cookies for a gluten-free crust
Use vegan butter and non-dairy whipping cream for a dairy-free version
For best results, let each slice set at room temperature for 1-2 minutes before slicing
Cocoa drizzle sets faster in the freezer, but this step is optional
- Prep Time: 20
- Cook Time: 5
- Category: No-Bake Dessert Recipes
- Method: Freezing
- Cuisine: American
- Diet: Vegetarian
Nutrition
- Serving Size: 1 slice
- Calories: 450
- Sugar: 52g
- Sodium: 280mg
- Fat: 24g
- Saturated Fat: 14g
- Carbohydrates: 60g
- Fiber: 3g
- Protein: 5g
- Cholesterol: 60mg