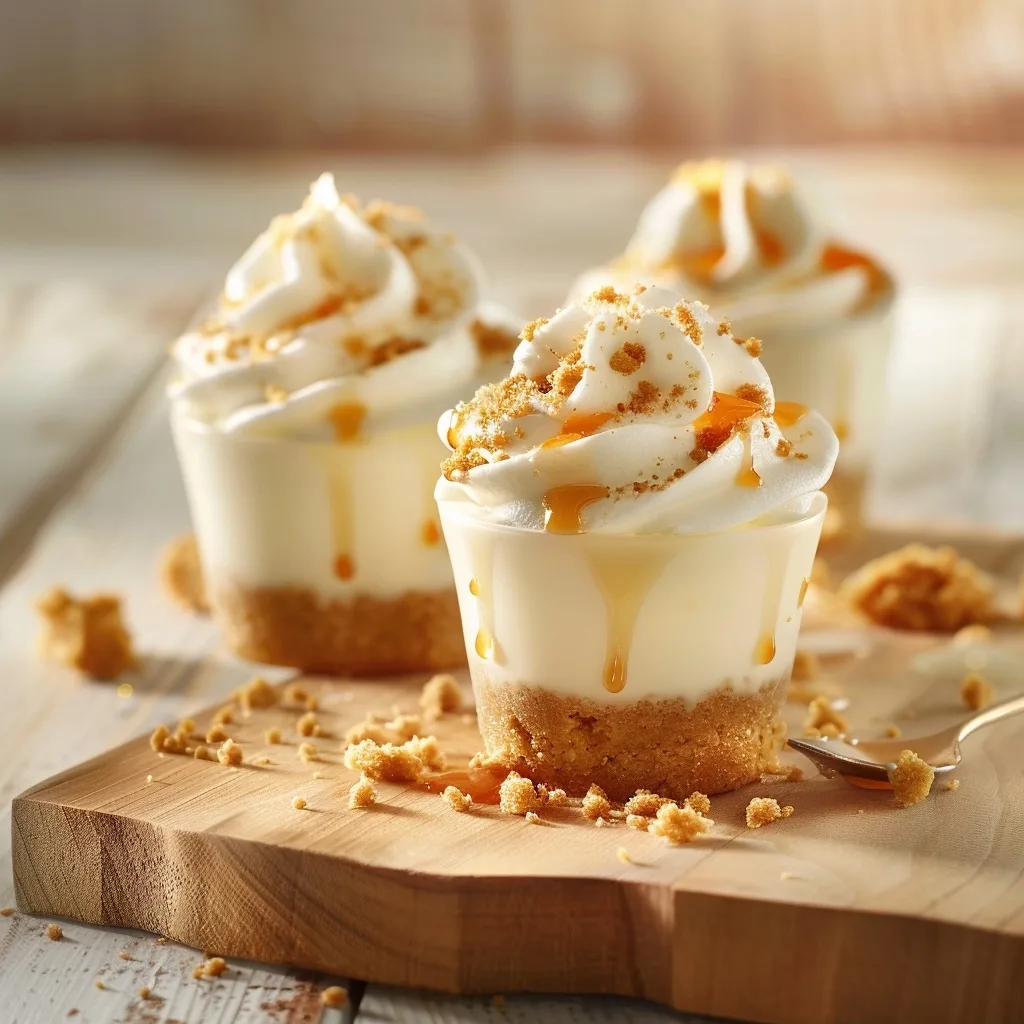
No Bake Cheesecake Cups provide a refreshing and elegant solution for quick individual dessert servings. These manageable portions combine a buttery graham cracker base with a smooth, velvety cream cheese layer, requiring absolutely no oven time for preparation. Mastering this simple creation allows you to offer professional-looking treats at any gathering while keeping your kitchen cool and your dessert schedule stress-free.
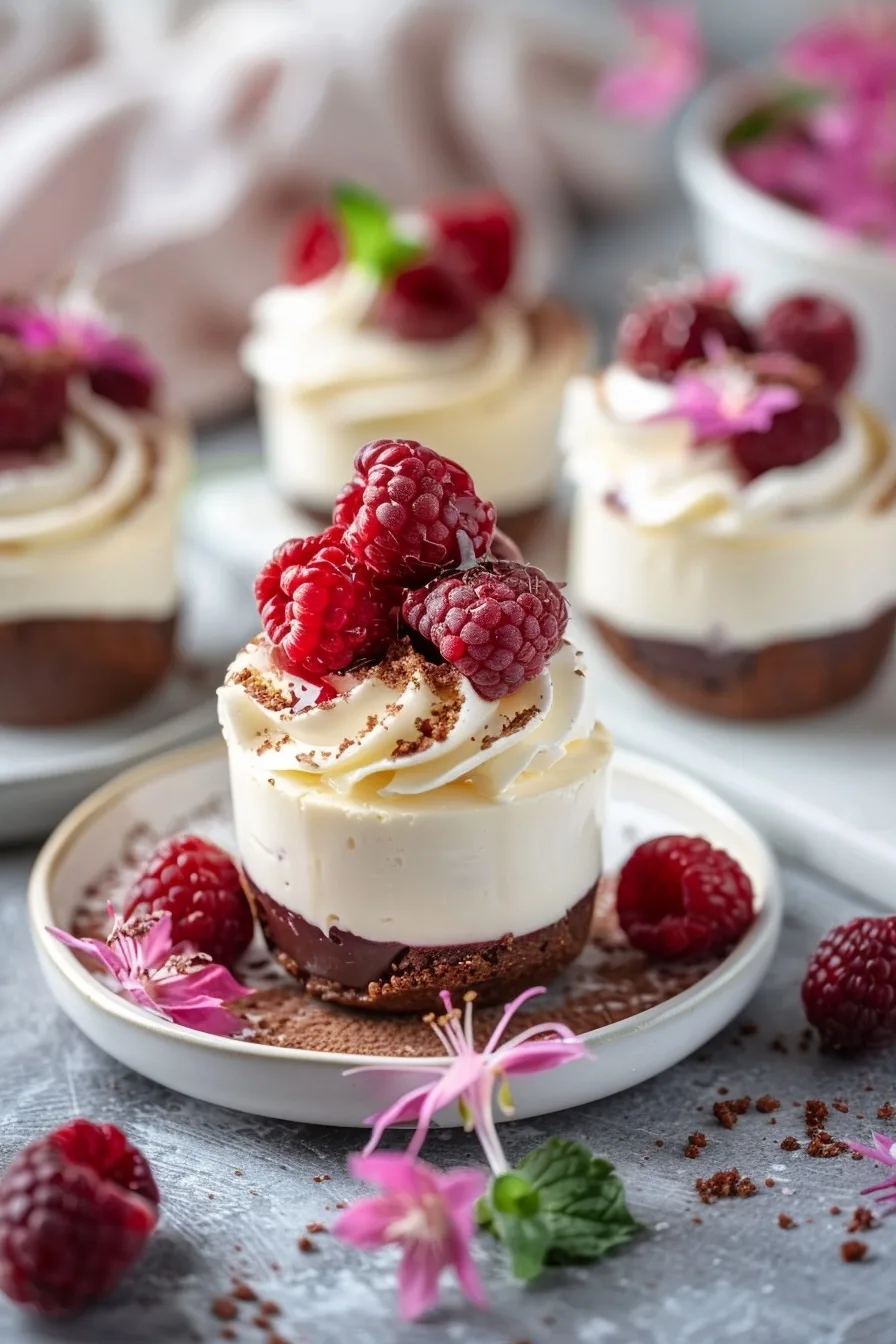
Recipe Overview
| Metric | Details |
|---|---|
| Prep Time | 20 minutes |
| Cook Time | 0 minutes |
| Total Time | 2 hours (includes setting) |
| Servings | 8 servings |
| Difficulty | Easy |
| Cuisine | American Dessert |
Why This Recipe Works
This recipe excels because it eliminates the structural risks of traditional baked cheesecakes while maintaining a rich and decadent texture. By using individual serving containers, you remove the stress of slicing perfectly even pieces for your guests. The portion control aspect ensures everyone enjoys a balanced sweet treat without the complexity of large pan management.
I personally prefer these cups for busy weekdays because they utilize pantry staples that almost everyone has on hand. The assembly process is incredibly fast, allowing you to focus on creative toppings or seasonal fruit garnishes. These cups retain their creamy consistency perfectly in the refrigerator, making them an ideal choice for planning desserts well in advance of your events.
Ingredients
| Ingredient | Quantity | Notes |
|---|---|---|
| Graham Crackers | 1.5 cups crushed | Can substitute with digestive biscuits |
| Cream Cheese | 16 oz softened | Use full-fat block style only |
| Powdered Sugar | 3/4 cup | Sifted for smoother texture |
| Heavy Cream | 1/2 cup | Must be cold for whipping |
| Vanilla Extract | 1 tsp | Pure extract adds best flavor |
| Unsalted Butter | 4 tbsp melted | Essential for keeping the crust intact |
Step-by-Step Instructions
Preparing the Crust
- Combine the crushed graham crackers with melted butter in a small mixing bowl using a fork.
- Distribute the sandy mixture evenly among eight dessert cups or small jars to form the base.
- Press the crumbs down firmly with the back of a spoon to create a stable foundation for the cheesecake filling.
Creating the Filling
- Beat the softened cream cheese and powdered sugar together in a large bowl on medium speed until completely smooth.
- In a separate chilled bowl, whip the heavy cream until stiff peaks form to provide lightness.
- Fold the whipped cream gently into the cream cheese mixture using a silicone spatula to maintain the airy volume.
Assembly
- Pipe or spoon the cheesecake mixture carefully into the prepared cups over the crust.
- Smooth the tops with a small offset spatula or the back of a spoon for an even finish.
- Refrigerate the cups for at least two hours to allow the filling to set properly before serving.
Chef Tips for Perfect Results
- Ensure the cream cheese is at room temperature to avoid lumps in your final filling.
- Use a piping bag with a large star tip if you want to create elegant swirls on the surface of the cups.
- Avoid over-mixing the cream after adding it to the cheese to keep the mousse-like texture intact.
- Chill your mixing bowl and beaters in the freezer for ten minutes before whipping the heavy cream for faster results.
- Add a pinch of salt to the crust mixture to enhance the contrast between the sweet filling and the savory base.
- Always use high-quality vanilla extract as it provides the primary flavor profile for the entire dessert.
Common Mistakes to Avoid
Avoid using low-fat cream cheese, which results in a runny filling that refuses to set firmly. Always use block cream cheese to maintain the necessary structure and density for individual cups. Do not melt the butter until it is boiling, as this makes the crust overly greasy rather than firm and sandy during the cooling phase. For more kitchen techniques, see this culinary guide for helpful tips.
Variations and Substitutions
| Ingredient | Substitution | Impact |
|---|---|---|
| Graham Crackers | Oreo crumbs | Adds chocolate depth |
| Vanilla Extract | Lemon Zest | Adds bright citrus notes |
| Heavy Cream | Coconut Milk | Creates a tropical flavor profile |
Serving Suggestions and Pairings
Serve these cups at summer garden parties, anniversary dinners, or holiday brunch gatherings. Top them with fresh strawberry slices, blueberries, or a drizzle of warm berry puree for a vibrant presentation. Pair these desserts with a glass of chilled sparkling grape juice or a smooth cup of black coffee to balance the richness.
Storage and Reheating
| Method | Duration | Instructions |
|---|---|---|
| Refrigeration | Up to 3 days | Cover tightly with plastic wrap |
| Freezer | Up to 1 month | Thaw in the refrigerator overnight |
Nutritional Information
| Nutrient | Amount per Serving (Approximate) |
|---|---|
| Calories | 320 kcal |
| Fat | 22g |
| Protein | 4g |
| Carbohydrates | 28g |
Frequently Asked Questions
Can I use yogurt instead of cream cheese?
You should not use yogurt because the high water content prevents the cheesecake from setting properly in individual cups. Stick to full-fat cream cheese for the necessary stability.
How do I know if the mixture is set?
The mixture is set when the top appears firm to the touch and does not jiggle excessively when the cup is tilted slightly. Two hours of refrigeration is the minimum time required for this texture.
Can these be made in advance?
You can prepare these cups up to three days in advance if they are stored in an airtight container within the refrigerator. Keeping them covered prevents the filling from absorbing other odors from the kitchen.
How can I prevent the crust from becoming soggy?
You can prevent a soggy crust by ensuring the butter is fully mixed with the crumbs to create a water-resistant layer. Applying a thin layer of melted white chocolate over the finished crust before adding the filling is another effective technique.
Is a hand mixer required for this recipe?
A hand mixer is strongly recommended to achieve the smooth, airy consistency required for a professional result. While a whisk can work, the motor power of a mixer ensures the cream cheese lumps disappear entirely.
No Bake Cheesecake Cups remain an essential skill for anyone seeking a sophisticated but simple dessert. By focusing on quality ingredients and steady chilling times, you achieve professional results without the fuss of traditional baking methods. Enjoy the velvety texture and endless topping possibilities these individual treats provide for your friends and family.
Print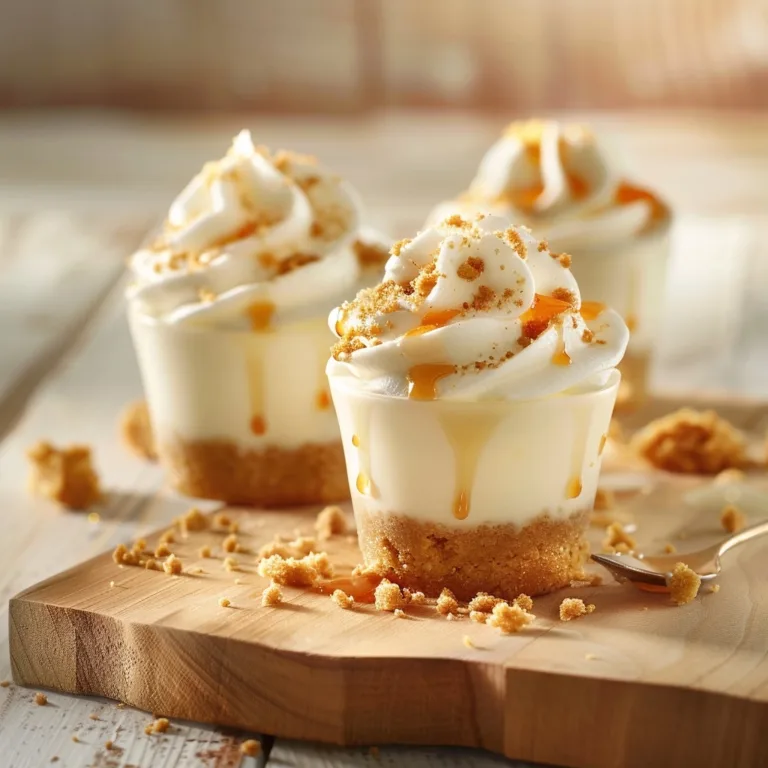
No Bake Cheesecake Cups
These elegant No Bake Cheesecake Cups offer a sophisticated and stress-free solution for any dessert occasion. Featuring a buttery, crisp graham cracker base topped with a velvety, smooth cream cheese filling, these individual portions eliminate the need for oven time or precise slicing. Perfect for entertaining or a quick weekday treat, they are prepared in minutes and set in the refrigerator, ensuring a perfect, consistent texture every single time.
- Total Time: 140
- Yield: 8 servings 1x
Ingredients
1.5 cups graham cracker crumbs
4 tbsp unsalted butter, melted
16 oz block-style cream cheese, softened
3/4 cup powdered sugar, sifted
1/2 cup heavy cream, chilled
1 tsp pure vanilla extract
Instructions
Combine the crushed graham crackers with melted butter in a small bowl until well mixed.
Distribute the mixture evenly into eight small dessert cups or jars.
Press the crumbs down firmly with the back of a spoon to create a solid base.
In a large bowl, beat the softened cream cheese and powdered sugar on medium speed until smooth.
In a separate chilled bowl, whip the heavy cream until stiff peaks form.
Gently fold the whipped cream and vanilla extract into the cream cheese mixture until combined.
Pipe or spoon the filling into each cup over the prepared crusts.
Refrigerate for at least 2 hours before serving to allow the filling to set.
Notes
Ensure the cream cheese is fully softened to room temperature to avoid lumps. For a decorative touch, garnish with fresh berries or a drizzle of fruit coulis just before serving. These can be stored in the refrigerator, covered with plastic wrap, for up to 3 days.
- Prep Time: 20
- Category: No-Bake Creamy Desserts
- Method: No-Bake
- Cuisine: American
- Diet: Vegetarian
Nutrition
- Serving Size: 1 cup
- Calories: 310
- Sugar: 22g
- Sodium: 250mg
- Fat: 24g
- Saturated Fat: 14g
- Carbohydrates: 20g
- Fiber: 0.5g
- Protein: 4g
- Cholesterol: 75mg