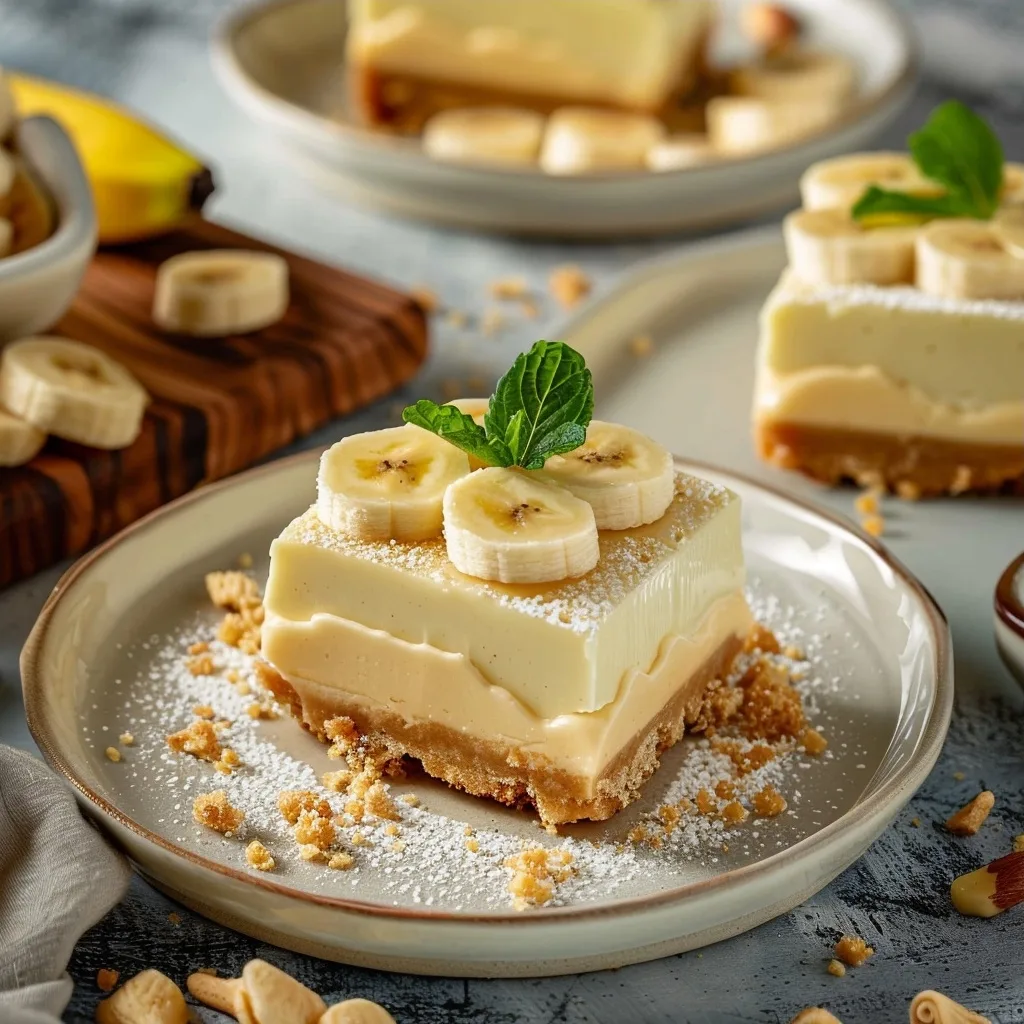
Banana pudding bars no bake offers a delightful and effortless dessert experience. This recipe transforms classic banana pudding into convenient, layered bars without any oven time. They feature a sweet graham cracker crust, a luscious creamy filling, fresh banana slices, and a cloud-like whipped cream topping.

Recipe Overview
| Prep Time | 20 minutes |
|---|---|
| Cook Time | 0 minutes |
| Total Time | 4 hours (chilling) |
| Servings | 16 bars |
| Difficulty | Easy |
| Cuisine | American |
Why This Recipe Works
This no-bake creation is a guaranteed crowd-pleaser, blending familiar flavors with an incredibly simple preparation. My passion for desserts that minimize oven use led me to perfect this banana pudding bar recipe. It requires no baking skills, making it ideal for beginners or those short on time.
The magic lies in the contrasting textures and temperatures. A firm, buttery crust meets a cool, creamy vanilla filling, punctuated by the sweetness of fresh bananas. This combination is highly satisfying, offering a taste of nostalgia. The no-bake approach ensures the bananas retain their vibrant flavor and texture, unlike in baked versions.
Ingredients
| Ingredient | Quantity | Notes with alternatives |
|---|---|---|
| Graham Crackers | 2 cups, crushed | Digestive biscuits or shortbread cookies can be substituted. |
| Butter | 1/2 cup, melted | Unsalted butter is preferred for better salt control. |
| Powdered Sugar | 1 cup | Also known as confectioners’ sugar or icing sugar. |
| Cream Cheese | 8 oz, softened | Full-fat cream cheese provides the best texture; light versions may affect firmness. |
| Sweetened Condensed Milk | 1 (14 oz) can | Do not confuse with evaporated milk; it is much thicker and sweeter. |
| Vanilla Extract | 1 teaspoon | Pure vanilla extract offers superior flavor. Almond extract is an option for a different profile. |
| Bananas | 3-4 medium, ripe | Use firm, ripe bananas for the best sweetness and texture. Avoid overripe ones. |
| Whipped Cream | 2 cups, for topping | Homemade or store-bought whipped topping works well. Stabilized whipped cream holds up better. |
Step-by-Step Instructions
- Crush graham crackers into fine crumbs using a food processor or by placing them in a sealed bag and crushing with a rolling pin.
- In a medium bowl, combine the graham cracker crumbs with the melted butter and stir until the crumbs are evenly moistened.
- Press the crumb mixture firmly and evenly into the bottom of an 8×8 inch baking dish. Use the base of a glass or measuring cup to create a compact layer.
- Place the prepared crust in the freezer while you make the filling to help it set.
- In a large bowl, beat the softened cream cheese and powdered sugar together with an electric mixer until smooth and creamy, with no lumps remaining.
- Gradually beat in the sweetened condensed milk until fully incorporated and the mixture is well combined.
- Stir in the vanilla extract until thoroughly blended into the filling.
- Remove the crust from the freezer.
- Pour the cream cheese filling evenly over the chilled graham cracker crust, spreading it smoothly with a spatula.
- Peel and slice the bananas into uniform rounds, approximately 1/4 inch thick.
- Arrange the banana slices in a single layer over the cream cheese filling. For even coverage, you can slightly overlap them.
- Cover the baking dish tightly with plastic wrap or aluminum foil.
- Refrigerate the bars for at least 4 hours, or until the filling is firm and set. For best results, chill overnight.
- Once firm, spread the chilled whipped cream evenly over the banana layer just before serving.
- Cut the chilled bars into squares using a sharp knife. For cleaner cuts, wipe the knife between slices.
Prepare the Crust
Make the Creamy Filling
Assemble the Bars
Serve
Chef Tips for Perfect Results
- Ensure your cream cheese is fully softened to prevent lumps in the filling. Allow it to sit at room temperature for at least an hour.
- Use firm, ripe bananas. Overly ripe bananas can become mushy and release too much liquid into the dessert.
- Chill the crust for at least 15 minutes before adding the filling to ensure a well-defined base.
- For cleaner slicing, refrigerate the finished bars for an additional 30 minutes before cutting, and use a hot, wet knife.
- Don’t skip the chilling time; this is crucial for the bars to set properly and hold their shape. Plan for at least 4 hours of refrigeration.
Common Mistakes to Avoid
- Using cold cream cheese: This results in a lumpy, uneven filling because it won’t incorporate smoothly with the sugar. Ensure cream cheese is fully softened.
- Under-chilling the bars: Rushing the chilling process means the bars will be soft and fall apart when cut. Allow the full recommended chilling time for proper setting.
- Cutting bananas too thin: Very thin banana slices can disintegrate into the filling. Aim for a consistent 1/4-inch thickness for distinct layers.
- Over-mixing the filling after condensed milk is added: Excessive mixing can incorporate too much air, potentially affecting the final texture and firmness. Mix just until combined.
Variations and Substitutions
| Ingredient | Substitution | Impact on Flavor |
|---|---|---|
| Graham Crackers | Vanilla wafers, shortbread cookies, or a gingersnap crust | Adds a different spice or buttery note to the base. |
| Bananas | Sliced strawberries or peaches (for a seasonal twist) | Changes the fruit profile entirely; less traditional banana pudding flavor. |
| Whipped Cream | Cool Whip, meringue topping (baked briefly if desired) | Cool Whip offers convenience; meringue adds a toasted marshmallow flavor. |
| Vanilla Extract | Almond extract, or a combination of both | Almond extract adds a distinct nutty, slightly floral aroma and taste. |
Serving Suggestions and Pairings
These banana pudding bars are perfect for potlucks, picnics, and family gatherings. They are a fantastic make-ahead dessert for birthdays or holiday celebrations. For a complete dessert experience, serve alongside a glass of cold milk or a light coffee beverage. These bars also pair wonderfully with fresh berries.
Storage and Reheating
| Method | Duration | Instructions |
|---|---|---|
| Refrigeration | 3-4 days | Store covered tightly in the refrigerator. Add whipped cream just before serving if possible to maintain its fluffiness. |
| Freezing | Up to 1 month (crust and filling only) | Freeze the bars without the whipped cream topping in an airtight container. Thaw overnight in the refrigerator before adding cream and serving. Taste and texture may slightly alter. |
Nutritional Information
| Nutrient | Amount per Serving |
|---|---|
| Calories | Approximate values: 350 kcal |
| Protein | Approximate values: 4 g |
| Fat | Approximate values: 20 g |
| Carbohydrates | Approximate values: 38 g |
| Fiber | Approximate values: 2 g |
| Sugar | Approximate values: 25 g |
| Sodium | Approximate values: 200 mg |
Frequently Asked Questions
Can I substitute the graham crackers?
Yes, you can substitute graham crackers with vanilla wafers, shortbread cookies, or even digestive biscuits for a similar crust texture.
How do I know if my banana pudding bars are set?
The bars are set when the cream cheese filling is firm to the touch and does not yield significantly when gently pressed.
What if my filling is too soft?
Ensure you used full-fat cream cheese and condensed milk, and allow the bars to chill for the full recommended time. For future attempts, slightly increase the chilling duration.
Can I make these banana pudding bars ahead of time?
Yes, you can make the bars up to the banana layer a day in advance. Add the whipped cream topping just before serving for best results.
How long does it take for banana pudding bars to set?
Banana pudding bars require at least 4 hours of chilling time to set properly, though overnight refrigeration yields the best firm texture.
These no-bake banana pudding bars offer a sensational dessert experience that is both classic and incredibly easy. The smooth, creamy texture combined with the sweet banana flavor creates a truly comforting treat. Embrace the simplicity and enjoy this delightful, fuss-free way to satisfy your sweet cravings. This recipe is your gateway to pure banana bliss.
Print
Banana Pudding Bars No Bake
No-bake banana pudding bars with a graham cracker crust, creamy vanilla filling, fresh banana slices, and a whipped topping. Perfect for an easy and nostalgic dessert.
- Total Time: 240
- Yield: 16 bars 1x
Ingredients
2 cups graham crackers, crushed
1/2 cup butter, melted
1 cup powdered sugar
8 oz cream cheese, softened
1 (14 oz) can sweetened condensed milk
1 teaspoon vanilla extract
3–4 medium ripe bananas
2 cups whipped cream, for topping
Instructions
Crush graham crackers into fine crumbs using a food processor or blender.
Mix graham cracker crumbs with melted butter and 1/2 cup powdered sugar to form a crust.
Press the mixture firmly into the bottom of a 9×13-inch baking pan, creating an even layer.
In a bowl, beat cream cheese until smooth and creamy.
Gradually mix in sweetened condensed milk and vanilla extract until fully incorporated.
Spread the creamy filling over the crust and smooth the surface.
Peel and slice bananas; arrange them evenly over the filling.
Refrigerate for at least 4 hours or until the filling sets.
Before serving, frost the top with whipped cream.
Cut into 16 bars and serve chilled.
Notes
For a crust alternative, use crushed digestive biscuits or shortbread cookies.
If using a vegan version, use vegan cream cheese, dairy-free whipped cream, and ensure other ingredients are plant-based.
Store in the refrigerator for up to 3 days.
- Prep Time: 20
- Category: No-Bake Dessert Recipes
- Method: Chilling
- Cuisine: American
- Diet: Vegetarian
Nutrition
- Serving Size: 1 bar
- Calories: 280
- Sugar: 32g
- Sodium: 140mg
- Fat: 14g
- Saturated Fat: 7g
- Carbohydrates: 38g
- Fiber: 1.2g
- Protein: 4g
- Cholesterol: 45mg